Monday, 27 October 2014

Creative Expressions - Memories

Hi ya, I'm really sorry that this is late, I think I kept putting it off as it's a Goodbye to an amazing DT. I have been with Creative Expressions for a year and I have made the decision to not reapply as I would like to continue with my mixed media art, plus I have almost got my first video on YouTube ready.  Also I have been asked by my other DT to start doing projects to go on packaging for Laser Cuts, so very exciting.  I also want to be able to do more tutorials and blogging.  They have been an amazing company to work for and of course I shall continue to buy and use their products.  So with a sad heart here is my last creation for the Creative Expressions Blog.
I would like to enter the following challenges -
Artistic Stamper Creative Blog - Memories
ABC Challenge Blog - V-Vibrant
Through The Craftroom Door - Anything Goes
Southern Girls Challenge - Getting Wordy On It
Sweet Stampin' Challenge - Anything But A Card

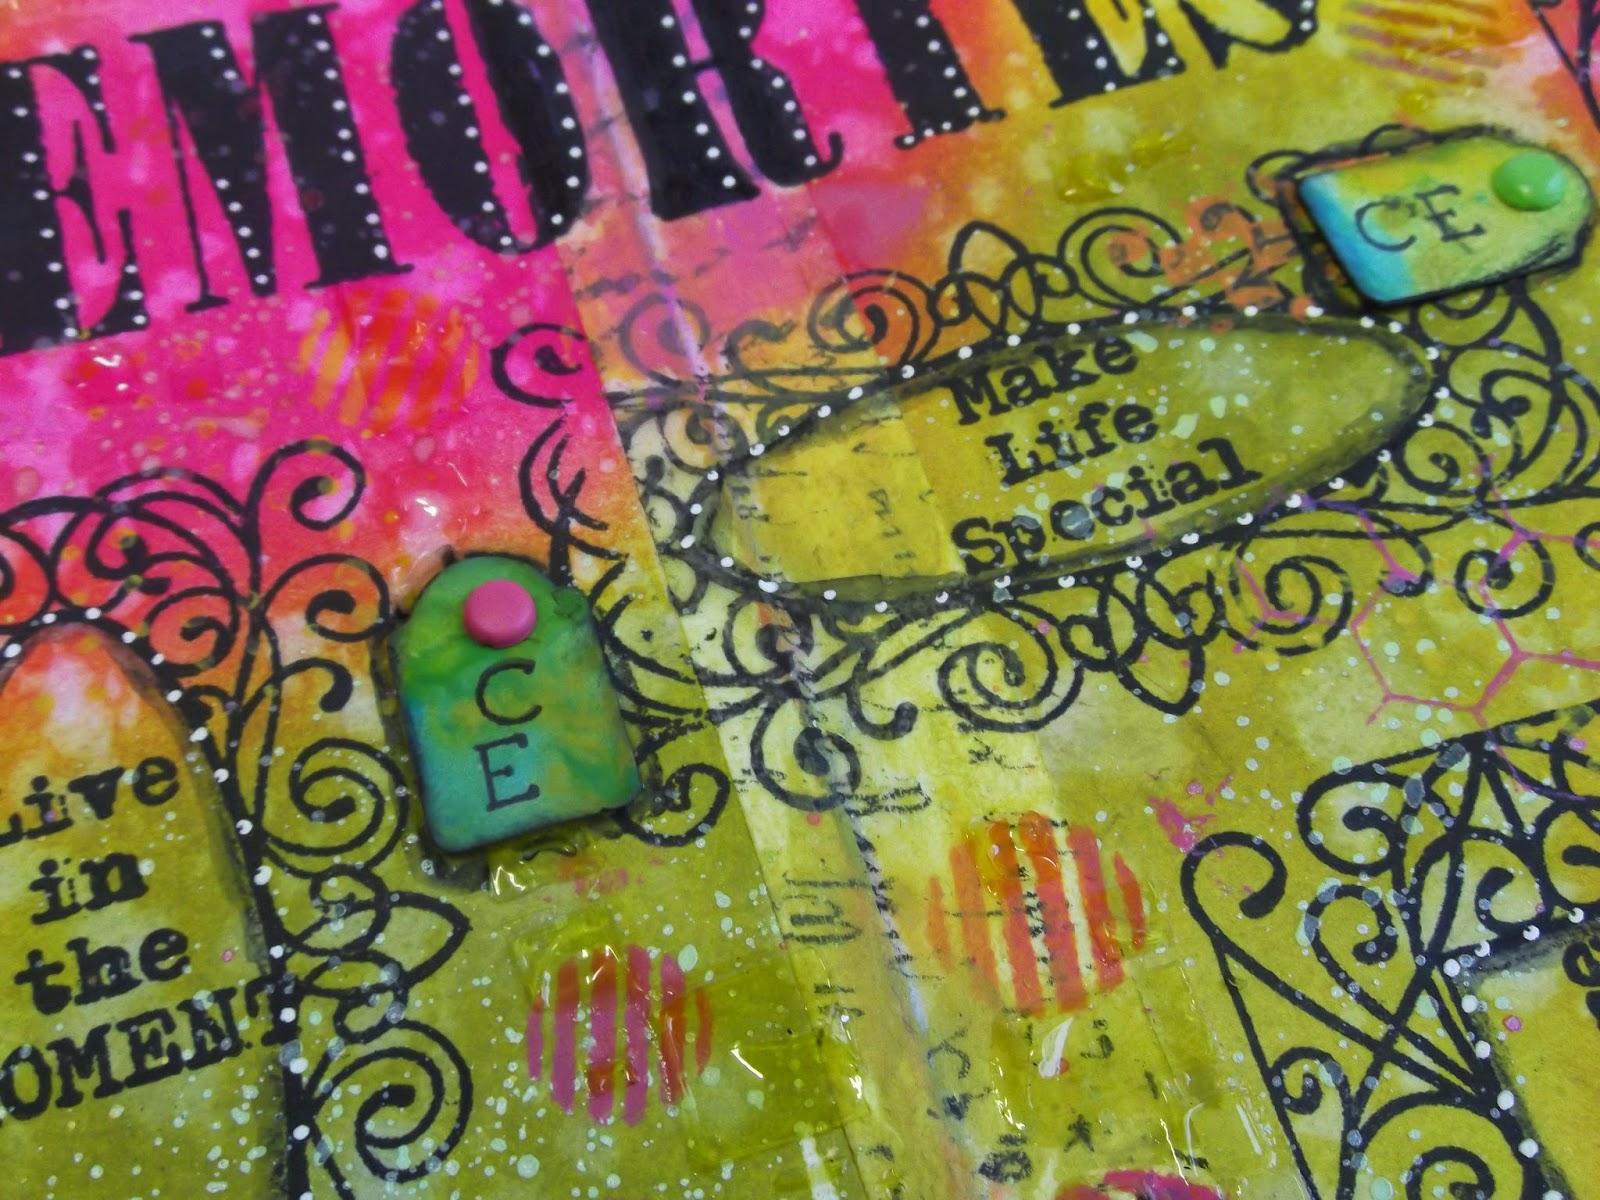
A Journal Page for all my Creative Expressions Memories.

Lots of close ups :-).


And now for the step by step ....................................

I covered my journal pages with Distress Ink Crushed Olive, Mustard Seed, 
Spiced Marmalade and Picked Raspberry.  I always tape my journal down the middle
and I used Idea-ology Washi Tape.  I will cover it more later.

Next I flicked lots of water over the page and wow I still am amazed with the 
gorgeous look full of texture by doing such a simple thing.

Next I flicked different colours of Cosmic Shimmer Watercolours (pastel
pink mixed with red blaze, yellow sparkle, pastel lime and pastel orange).

I used Archival jet black to stamp the Tim Holtz Worn Text.

I didn't want it to look so worn so I used my promarker to fill up the letter.

Next I stamped the Creative Expressions Single Stamp Mini Ornate Frame Set
all over my journal.

I used Distress Paint in the same colours to colour through the
That Special Touch Mask Stripy Spots, I also mixed up some colours through the
stencil for a different effect.

I mopped up the colours above with some small tags from my stash,
I also used Distress Paint Peacock Feathers with the Crushed Olive and Mustard
Seed to colour some mini tags.

I stamped with the same colours Distress Paints using Creative Expressions Aqua Writing,
Tim Holtz Psychedelic Grunge, Mixed Media and Ultimate Grunge.

I used Cosmic Shimmer Texture Paste Clear through That Special Touch
Mask Doodle Squares. I also used some of the paint to cover the middle washi
tape as I had completely forgot to do it before stamping lol.

I stamped lots of sayings from Creative Expressions Stamp Set Art Sayings and
also used a mini alphabet from my stash to stamp CE and some messages
to say goodbye on the little coloured tags.

I used Distress Ink Pad Black Soot to colour the edges of the journal and around the 
mini tags, I then coloured some mini staples with my Flexmarker and attached
some of the tags, the rest I used small coloured brads.

Lastly I used my journal pens to make some dots, I also used a water colour pencil
around the inside of the frames and the tags to make them pop more.

Hope you enjoyed my last project for Creative Expressions and thank you so much for visiting and supporting me through each Monday project over the last year.  I hope you will visit again sometime.
Happy Creating :-)
Hugs Kezzy xxxxx

Sunday, 26 October 2014

Incy Wincy Spider

Hi ya, how are you all?  hope your all having a nice weekend.  I have been awol for the last week, purely from being busy with parents evening and awards giving but also because it took me ages to complete my last project for CE which will be posted tomorrow.  But now it's done I have awoken to the fact that what do I do now lol, what shall I use, what shall I play with lol.  Also I have been playing around with my new webcam and video editing, really excited that very soon I shall be offering video tutorials instead of step by step on here.  Over at That Craft Place Challenge Blog they are doing Halloween, I do all their blog posts, I'm mostly on the Admin side but I thought I would play along today and this morning I made this cute wooden coaster.  There is a small step by step but it was pretty easy to do, enjoy :-).
I would like to enter the following challenges -
Simon Says Monday Challenge - Anything Goes
Altered Eclectics - Wooden Coaster altered for Anything Goes
Rhedd's Creative Spirit - Wooden Coaster altered for Halloween or Not (anything goes)
Country View Challenges - Background using shimmer sprays and Treasure Gold on top for lustre.
Craft Hoarders Anonymous - Layer It - gesso, hot glue, tar gel, shimmer sprays, treasure gold, quote.

Even though it's supposed to be scary I think it's super cute lol

Lots of close ups :-)


And now for the mega quick step by step lol
I painted the laser cut wooden coaster with gesso, just a light covering.

Next I used the hot glue gun and made a web.

Next I added some tar gel dripping it around the sides.

Then I used Magicals (all colours and products at bottom of post) and
added some water onto them and brush them in areas on the coaster spritzing with water
as I went along.  I mopped it all up with a piece of heavy card stock.

I stamped out my quote and also used black paint to paint the laser cut wooden spider
and all the edges of the coaster.

I felt the mop up card was too dark for the quote so I re did it by adding Twinkling H20's in
white and silver to lighten it all.  I also used Treasure Gold on the sides and web and
another colour on the spider.  Then I glued it all down.  Done :-)

Really simple and great fun having a go at hot glue, it makes great dimension and texture and took the Treasure Gold beautifully.
Happy Creating :-)
Hugs Kezzy xxxxx

Products
Laser Wood Cuts - That Craft Place - spider and coaster
Hot Glue Gun
Lindy's Stamp Gang Magicals - tibetan poppy teal and ponderosa pines olive
Twinkling H20's - white and pewter
Eco Green Black Paint
Paperartsy Heavy Card Stock
Golden Clear Tar Gel
Ranger Studio Gesso
Archival Jet Black ink pad
Stampendous Stamps - tiny alphabet
Treasure Gold - onyxite (spider), white fire (web and edges)

Monday, 20 October 2014

Creative Expressions - Live Simply

Good morning, how are you all this morning?  I can't believe how dark it is in a morning now Autumn is here and it gets so dark early evening.  It seems to take me some time to adjust, I find that I am crafting less and in bed earlier, by 10pm I am sitting thinking, surely it's time for bed lol.  I really need to try and turn my body clock around ready for winter or I will be in bed at 7pm at this rate.  Anyway I shall stop blabbing on, it's Monday which means it's time for my project over on Creative Expressions Blog and I can't believe that after this I only have one more project left.
As always I shall highlight the products that are Creative Expressions in my step by step :-).
I would like to enter the following challenges ...........
Crafty Catz Challenge - Black plus one other colour (greens)
613 Avenue Create - Anything Goes optional candy treats
My Time to Craft - Tag It
Crafting At The Weekend - Anything Goes
Crafty Girls Challenge - Anything Goes

A bit shabby chic I think (I never quite know exactly what
is classed as shabby chic lol).


And now for the step by step ..........................

I took some Creative Expressions Coconut Card Stock and covered
one with Distress Ink Pad Peacock Feathers and the other Evergreen Bough.

I flicked some water all over, it still makes me ooooooo and ahhhhhh when
I see all those water spots :-).

I mixed up some Cosmic Shimmer Mica Pigment Golden Malachite with some
water and flicked over the evergreen bough and Cosmic Shimmer Watercolour
Pastel Green over the peacock feathers.

I really love the way these turned out, normally I use the mists, but I didn't
want the whole thing covered, also I had non to really match.  Think I shall be
doing this more in the future.

I took Distress Paint Picket Fence, Peacock Feathers and Evergreen Bough and
added some to my mat, I then swiped my tag through it and sprayed water over the wet
paint to make it move around.

I then used the matching ink pads to do the edges and any white spots,
I then flicked with water.

I also used the colours randomly through That Special Touch Mask Doodled Squares and
Tim Holtz Layering Stencil Lattice Work, I then flicked with water to soften it in places.

I used an old paint top and a old shop card and added some interest with the
picket fence paint.

I turned the tag around and added Studio 490 White Embossing Paste through the
That Special Touch Mast Distressed Dots.

The reason I turned the tag around is I knew I was covering up the bottom half of
the tag and I liked the bottom more so I just turned it around and cut the edges.
I used Archival Aquamarine to stamp the scrip from Creative Expressions Texture Stamp Set.

I used Cosmic Shimmer True White Embossing Powder and Ranger Perfect Medium
to stamp the edge of the Creative Expressions Wrought Iron Frame onto my
covered pieces of card, I did this a few times.  I also did the words separately but didn't use
them in the end.

To extend the line I used a versa marker pen with a ruler and embossed.

I wanted some ribbon to be coloured with evergreen bough colour but I didn't have
any in distress stain so I just kept adding the following and amazingly got the
colour I wanted - Distress Stain Picket Fence, Peacock Feathers, Cosmic Shimmer
Vintage Mist Astral Mystery and the normal mist Pearl.

I added some more stamping with the script stamp and with Archival jet black,
I matted on black card stock, added the coloured ribbon with white ribbon and
a Creative Expressions Pearl Embellishment and some wire.

I used the words from Tim Holtz Chit Chat Stickers and some of the 
Tim Holtz Remnant Rubs Botanical.  I then finished it off with some
doodles with my journal pens.

Right that's all from me today, I will try and be back tomorrow with some more creations.  Thanks for visiting.
Happy Creating :-)
Hugs Kezzy xxxxx