Monday, 22 September 2014

Creative Expressions - Golden Poinsettia

Good morning, how are you today?  I am knackered lol, I have just spent a weekend away visiting DT blogging friends down in Eastbourne, spent an evening in Brighton then travelled up to Ally Pally and stayed there for two nights.  I had a fantastic time but I have to admit I'm hurting today, but it was all worth it.  So today is Monday which can only mean it's time for my weekly project for Creative Expressions Blog and we have been working with the amazing Festive Collection dies and stamps.  I can't believe it's just over a year now I have been on the DT and my time shall be up soon, they are having a DT call over on the blog so why not come and work with this amazing company, the call finishes on the 24th September.  As always I shall highlight the products used from Creative Expressions during my step by step.
I would like to enter the following challenges -
Ruby's Rainbow Challenge - Anything Goes
Addicted To Stamps Challenge - Holiday
Crafty Girls Challenge - Anything Goes
Suzi's Bee's Bloomin' Challenge - Anything Goes (twist spots and dots)
613 Avenue Challenge - Anything Goes (twist make your own challenge chart)
Through The Craft Room Door - Anything Goes

This is the second gold piece, if you can remember last week I told you
that I was doing two projects very similar so then can go either side of a gold
wreath I have :-).


And now for the step by step which is almost the same as last week lol ..............

I used Creative Expressions MDF panel and painted two layers of Cosmic Shimmer
Gold paint on top, when that was dry I layered with Cosmic Shimmer Crackle Glaze.

I then mixed some Cosmic Shimmer Matt Chalk Paint Warm White with Vanilla to
make a soft cream colour.  I painted over the crackle, I also did some embellishments
but didn't used them.

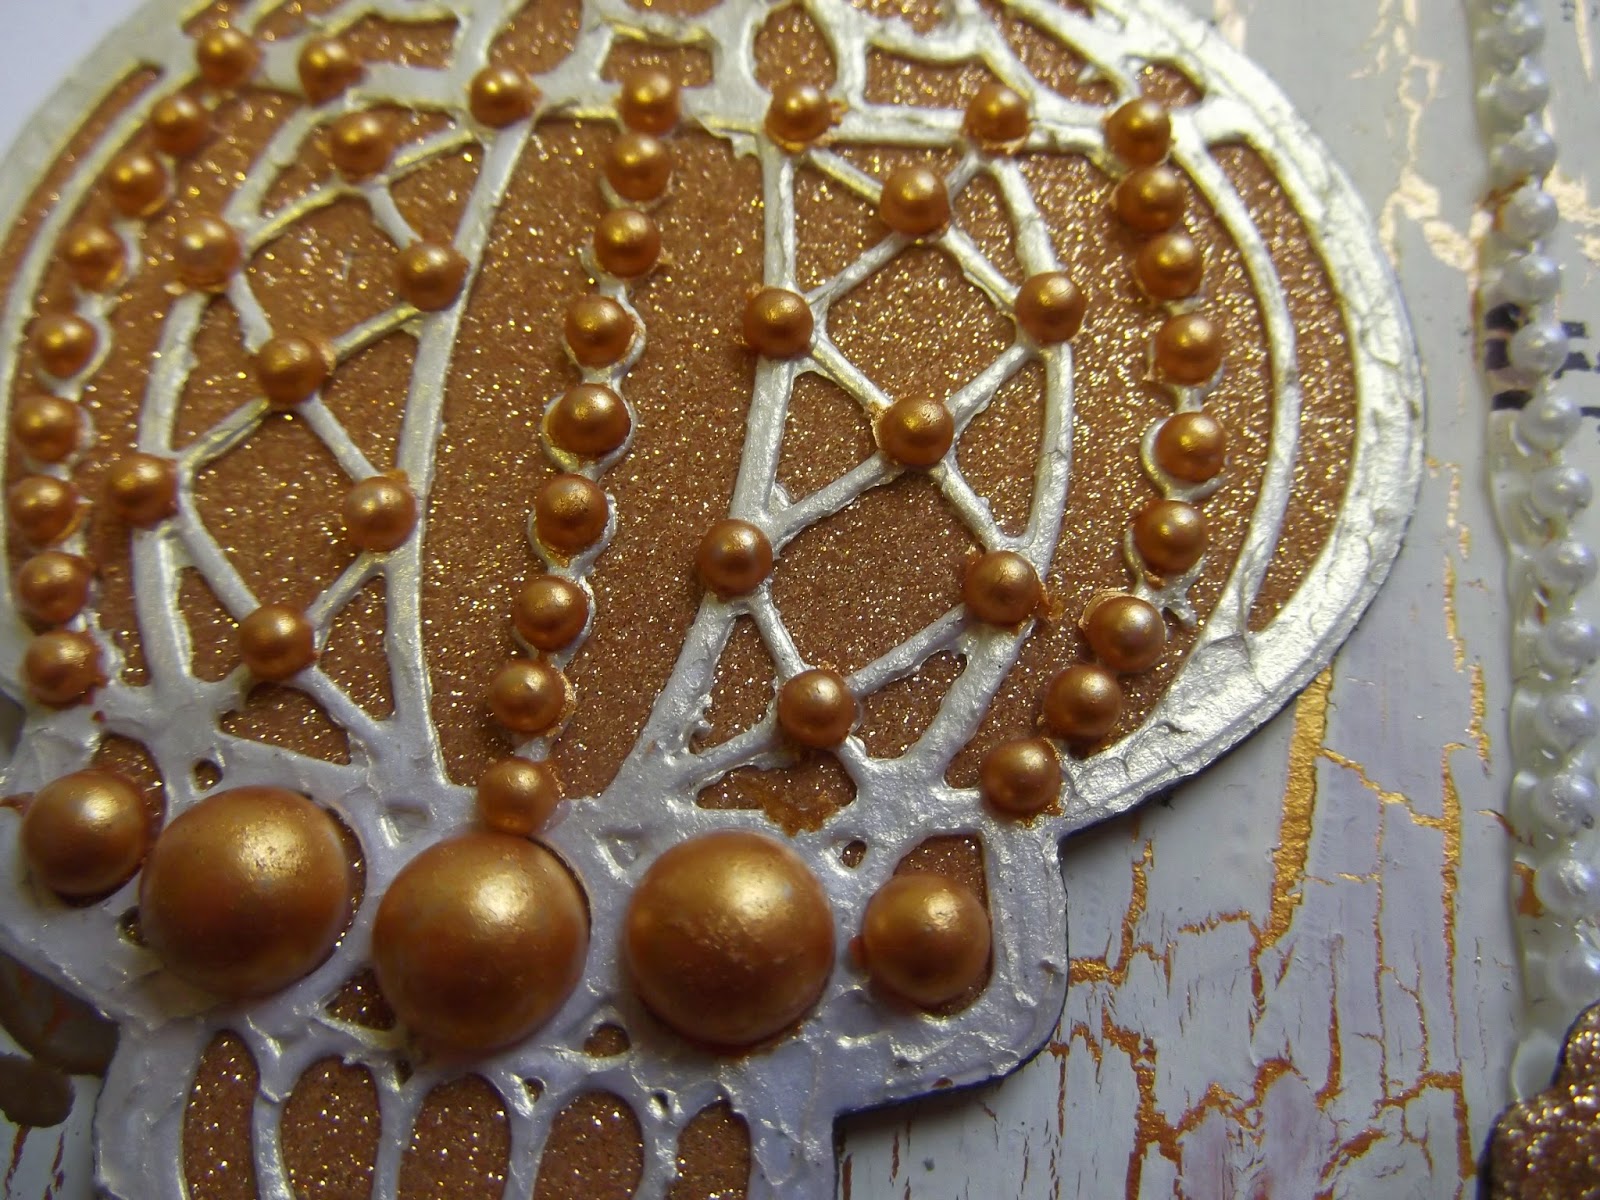
I painted some Creative Expressions Pearl Gems with the shimmer gold paint.

Next I die cut some card from the Creative Expressions Mosaic Poinsettia Craft Die
and added texture with Cosmic Shimmer Texture Paste Gold Pearl.

I then cut out some Creative Expressions Adhesive Sheets and Card with the
Creative Expressions Classic Poinsettia Craft Die.

I added the adhesive sheet to the card and then covered with Cosmic Shimmer
Polished Silk Glitter Sahara Gold

Next I masked off the Creative Expressions Single Stamp Believe and stamped
the BELIEVE part with Archival jet black ink pad and also the bottom half of the
sentiment from Creative Expressions Stamp Set Winter Wonderland.

I used some Studio 490 Embossing Paste Metallic Gold through a Tim Holtz Layering
Stencil Stars.

I stamped the foliage from Creative Expressions Stamp Set Partridge in a Pear Tree
with Ranger Perfect Medium and Cosmic Shimmer Detail Bright Gold embossing powder.

I then stamped the music from Creative Expressions Stamp Set Christmas Sleigh Ride.

I glued the poinsettias onto their glitter backgrounds, edged with 
a Distress Marker Black Soot and curled the leaves with my
finger and built it up with glue.

I added the gold pearl gems from earlier and some Creative Expressions Gilding Wax 
Enchanted Gold.  

Right that's me for today, I'm off to unpack my goodies from Ally Pally, I shall make sure I take some pictures lol.  Thanks for visiting, hope you have a good day.
Happy Creating :-)
Hugs Kezzy xxxxx

Monday, 15 September 2014

Creative Expressions - Golden Baubles

Good Morning, how are you all today?  It's Monday which can only mean it's time for my project for Creative Expressions Blog and this months theme is Christmas with the awesome Sue Wilson stamps and dies.  Also we are having a DT call which ends on the 24th September 2014, pop on over to see how you could join this awesome company, they are fantastic to work with and I will be sad when it ends.  Oh and another thing, this weekend it's Ally Pally which is hosted by Creative Expressions and lots of companies will be there with lots of demo's.  I shall be there on Saturday which I'm really looking forward to.  Right onto my project, this week and next weeks are very similar using the same colours but slightly different products, I am planning on having them side by side my gold wreath over the fireplace.  As always I shall highlight the products by Creative Expressions during my step by step :-).
I would like to enter the following challenges -
C.R.A.F.T. Challenge - Christmas
Craft Room Challenge - Something Old (stamps are really old), Something New (Dies and Embossing Paste first use).
Moving Along With The Times - Add Texture (crackle medium, texture paste on the baubles)
One Stitch At A Time - Add a Die

I really love the crackled background with the gold seeping through,
perfect for Christmas :-).


And now for the step by step ....................................

I used a paper mache thingy!!! from my stash and painted two layers
of Cosmic Shimmer Paint Gold (my new favourite), I then added when it
had dried Cosmic Shimmer Crackle Glaze.

I wanted a cream look but was running out of the Cosmic Shimmer Matt Chalk paint Vanilla
so I added some Warm White to make it last over this and next week's project.
I also painted some embellishments but didn't use them.
I then painted over the top of the dried crackle and let it do it's thing :-).

Doesn't the gold look awesome through the cracks, so loving it lol.

I wanted to keep with gold and cream so I painted some of the Creative Expressions
Pearl gems in different sizes with some of the gold shimmer paint, they turned out
a lot better then I thought.

Oops I missed the fact that I cut some card with the Creative Expressions Craft Die
Vintage Bauble.  I then added some Cosmic Shimmer Texture Paste Gold Pearl.

I then used my palette knife to make some texture.

I then lifted the bauble and put it to dry.  This would have been good
to do this on a background as the left over looked amazing, but I had already done 
my background lol.

This is what it looked like before it dried.

And after it had dried.

Next I cut the main part of the bauble with card and Creative Expressions
Adhesive Sheets, yes I did think after I should have cut them while 
the sheets were attached to the card oops.

I then added Cosmic Shimmer Polished Glitter Sahara Gold over the sheets
and added the textured baubles on top.

I stamped the sentiment from Creative Expressions Stamp Set Partridge in a Pear Tree with
Archival Jet Black ink pad.

I didn't have any of the Cosmic Shimmer gold paste so I used Ranger Studio 490
Embossing Paste Metallic Gold through the Tim Holtz Layering Stencil Stars.

I took the swirl from Creative Expressions Stamp Set Sleigh Ride and 
stamped it with Ranger Perfect Medium and embossed with Cosmic Shimmer 
Detail Bright Gold.

I took the music stamp from the same stamp set and stamped randomly over
the background.

 I added all the gold pearls I did earlier with Cosmic Shimmer Glue which glues
everything (I have been using this glue for around 3 years it's so good).

I added some Creative Expressions Pearl String and then some Creative Expressions
Gilding Wax Enchanted Gold.  Now I normally add dark around the edges,
but because I want the eyes to move from this piece to the bought gold wreath and then
next weeks project I decided to add some thing lighter.

Right that's it for today, thank you all for visiting and I hope you have a fantastic Monday.
Happy Creating :-)
Hugs Kezzy xxxxx

Sunday, 14 September 2014

Let It Snow

Good morning, how are you today?  I am still super busy trying to finish sorting my craft room, I never thought it would take so long to do, and of course I missed a whole week being poorly so that didn't help.  Today I am showing a card I did for one of the Creative Expressions shows on Create and Craft.  I am using it today as the challenge over at That Craft Place is Sentimental and I really love this sentiment.  Over in the midlands we didn't get hardly any snow last year, I really like when it snows, everywhere always looks so peaceful, but of course I also know it can cause chaos so I can really only wish for it to snow for one day lol.
I would like to enter the following challenges -
Simon Says Wednesday Challenge - Create your own Background (pics of how I did background towards end of post.
Papertake Weekly Challenge - Repeat Repeat (used 3 gem snowflakes and repeated dots around the card base)
Crafty Girls Challenge - Anything Goes
Through The Craft Room Door - Anything Goes
Fantastic Tuesday Challenge - Anything Goes/Add buttons


I so love lots of sparkle on Christmas cards, I reckon it's the
only time in the year my glitter comes out to play lol.


I don't have a full step by step but I have shown you how I made the subtle background :-).

I used some adhesive sheets, stencil and sparkle texture paste.

Add the adhesive sheet to the background card and the stencil on top.

Spread over the texture paste.

Here you can see what it looks like after the stencil is removed.
Now leave to dry.

Now for a subtle background add some non coloured glitter, but
if you really wanted it to pop you can add white. black, coloured glitter.

Here it is on the side view, you can really only see it when moving the card.

Right I better be off, hope you have a lovely day today and hopefully the weather is nice where you are.  Thank you for visiting.
Happy Creating :-)
Hugs Kezzy xxxxx

Products
Creative Expressions single stamp - Let it snow.
That Special Touch Stencil - Snowflakes
Creative Expressions Adhesive Sheets
Cosmic Shimmer Sparkle Texture Paste - Perrywinkle
Creative Expressions Blue/Ivory Ribbon
Cosmic Shimmer Glitter Jewels - Diamond Sprinkles
Cosmic Shimmer Twinkles
Creative Expressions Tulle white, pearl gems, pearl string gems
Distress Ink - Faded Jeans
Archival Jet Black ink pad.