Monday, 21 July 2014

Creative Expressions - Where there is Light there is ART

Good morning, how are you on this gorgeous sunny morning?  It's Monday which means it's time for my project for the Creative Expressions Blog and this month we are playing with Cosmic Shimmer Sparkle Texture Paste which is like glitter on steroids, the glitter is so compact in there that when it dries it looks amazing, and also we are playing with masks.  I have a Dina Wakely mask for next week but this week I wanted to show you a Home Decor piece, I wanted to show how versatile the sparkle paste can be :-).  I bought this tissue lamp shade for £1 in a pound shop and had a go at decorating it, I really wanted a arty feel but also a piece that if my mum came round she would like to lol.  I will highlight all the products in the step by step from Creative Expressions :-).
I would like to enter the following challenges :-
Crafty Girls Challenge - Anything Goes
Sisters of Craft Challenge - Anything Goes
Fan-tastic Tuesday Challenge - Anything Goes
Simon Says Wednesday Challenge - Spots and Dots
Anything But A Card Challenge - Anything Goes
Charisma Cardz Challenge - Anything Goes

The surface was not easy to work on, after struggling my partner came to the
rescue with a thingy that holds things lol.

It's quite hard to take a picture when it's lighted, without background lol.

Lots of close ups and different angle pics :-)


And now for the step by step which is pretty short as it doesn't use that much, it just takes longer going around and around and around, you get my gist lol ..............................

I will be using a Special Touch Stencil Disco and Cosmic Shimmer Sparkle
Texture Paste Lilac Blush and Vivid Violet.

I did think to myself, where do I start lol

Because I wanted individual circles I masked off the ones I didn't want with
some scotch tape.

Normally I like the sticky part at the back as it helps to keep the stencil
in place, but because the lamp shade is tissue I knew it would tear so
I brushed some talcum powder over the back to take away the stickiness.

I did bits at a time and let dry, until my partner gave me the thingy holdy thing!!!

I found it was easier to go over the metal bit and not go just in the middle, as 
it seemed to take a lot more in the middle and took ages to dry as it was so
thick.

Next I used Distress Paint Brushed Pewter and Dusty Concord.

The splodge here is when I tried to use the paint with the dabber, it just wouldn't work
as they wasn't anything firm underneath (you couldn't even get your hand in there without
the risk of tearing it).  So as you can see with the other circles it was better using a paint
brush.

Next I stamped words from Creative Expressions Art Sayings Stamp Set
with Archival Jet Black ink pad onto pieces of tissue.

I cut them up and used Ranger Glue N Seal (which has now changed to multi medium I think)
to stick them onto the lamp shade.

I did some at a angle as I didn't want them straight everywhere.

Next I took a black journal pen and scribbled circles around the paint.


Right that's it, quite short really for me lol.  Hope you enjoyed my project and hope you have a fab Monday.
Happy Crafting :-)
Hugs Kezzy xxxxx

Sunday, 20 July 2014

Paperartsy Inspiration for That Craft Place Challenge :-)

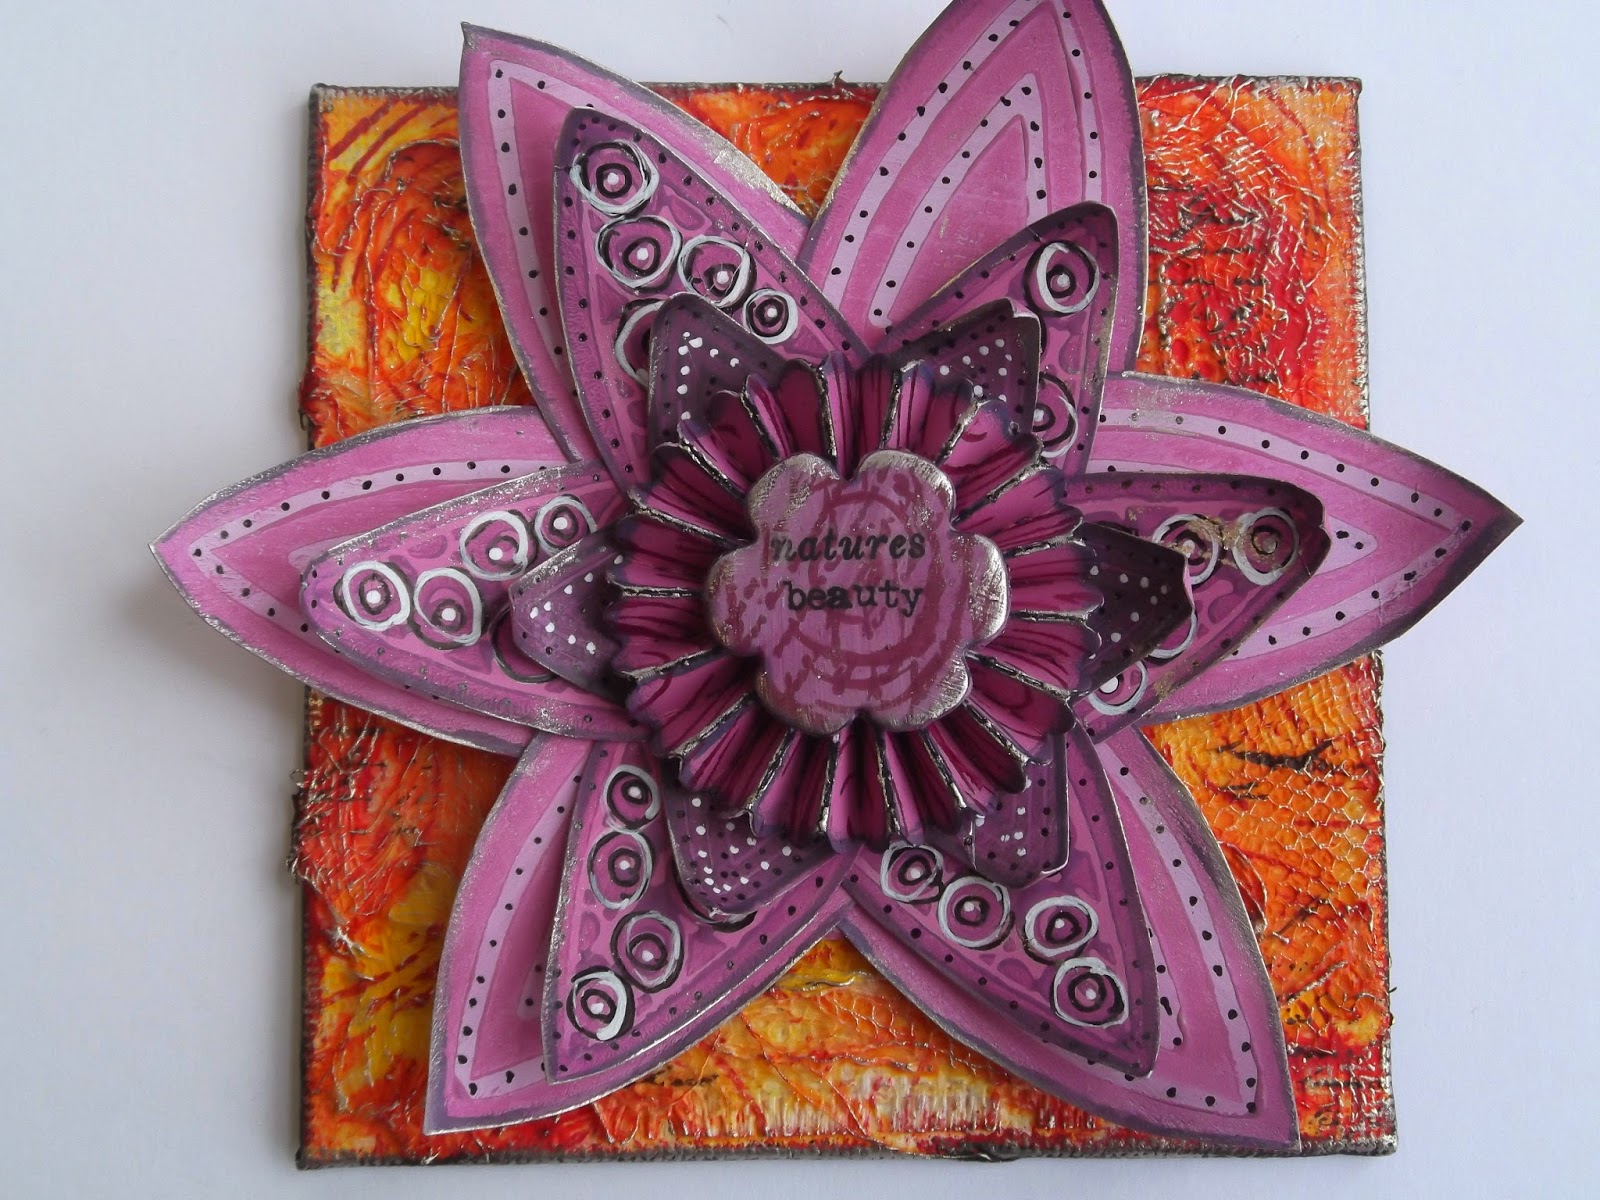
Hi ya, it's time again for That Craft Place Challenge Blog and this fortnight the challenge is Anything Goes. Of course I decided for my DT that I wanted to play along with the Paperartsy Inspiration Challenge and this weeks designer is the amazing Penny Nuttall :-).  This week she has been making art doll designs and wow you so need to check it out, I had initially started doing a doll, using some of Ellen's stamps to make the dress, but I didn't like the way I did it, I think I need to use something else, but it ended up putting me off.  So I started playing with a small canvas, just playing, using lots of scraps of cheesecloth, aida, netting and then when all was stuck on I splodged Fresco paint on top and sprayed with water, moving the canvas around, I did that with yellow submarine, london bus and tango and ended up with this -


I left if for a few days and then had the idea of instead of building and make a doll I would build a bloom, so I am hoping that this will count :-)

Ellen's stamps have so many possibilities, and I have to admit
I am becoming a bit obsessed with seeing exactly what I can do with them lol.
Talking of obsession, The Caran D'Ache Fibralo pens, they so much, can
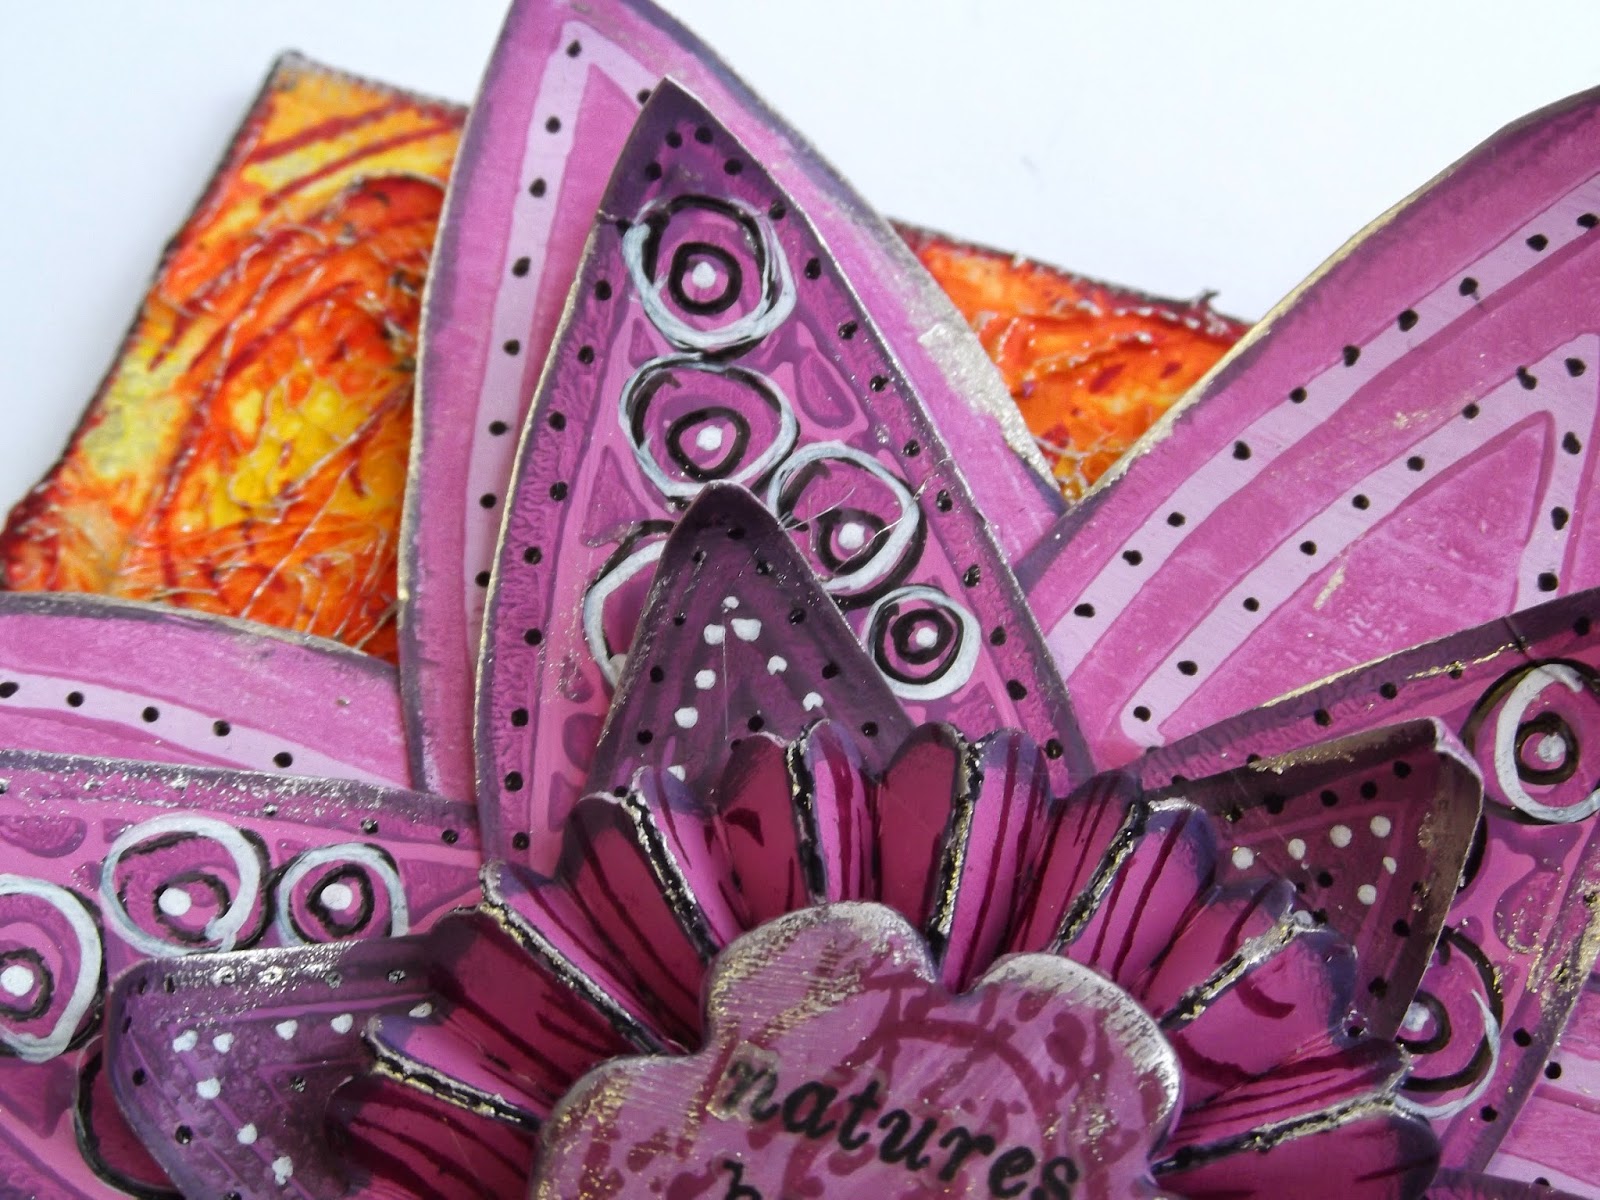
you see the soft greyish edging around each petal? well that is the black pen
and then smudged with my finger, it gives such a gorgeous subtle effect :-)

Two separate pieces coming together as one lol

I stamped the canvas with Ellen's circle and blood orange,
some script stamping, edging and treasure gold, all done
(everything I used at the bottom of the page).

Lots of yummy close up shots :-)


Right I better be off, I have had so much fun playing, hope you have a fantastic day.
Happy Crafting :-)
Hugs Kezzy xxxxx

Recipe
Paperartsy Fresco Paints - london bus, yellow submarine, tango, little black dress, blood orange, orchid, dolly mix, amethyst.
Paperartsy Stamps - EEV03, EEV04, EEV02, EEV01, Words 4
Paperartsy smooth card stock
Archival jet black and plum ink pads
Caran D'ache Fibralo pens - 185-009
TH Sizzix mini paper rosettes die
TH Idea-ology rub ons - botanical, words
Spellbinders circle die
4 by 4 canvas 

Wednesday, 16 July 2014

WOYWW 267

Hi ya, I know I meant to type up a post yesterday but instead I had way too much fun playing with paints and stamps lol.  Today is Wednesday which means it's time for WOYWW where everyone shares their crafty desks, neat or messy who cares lol.  I haven't joined in for a few weeks as my back was bad and I spent all my time doing DT work, but now I have had my injections so starting to feel human again :-).  Before I show you my desk, I have had a WOYWW ATC swap returned, now I am trying to work out who it is, it only got here the other day, as it was sent to USA, Kristen if you read this can you get hold of me as the number has been crossed out and send back :-(.  Some good news, Debbie from Deb's Crafty Time has won my Steampunk Creation HERE, if you could comment or email that would be great :-).

Now for my desk, with last nights playing :-)


Right I better be off, still having a play before some telly.
Happy Woyww :-)
Hugs Kezzy xxxxx

Monday, 14 July 2014

Creative Expressions - I Am Unique

Good morning, it's Monday hurray lol, which means it's time for my creation for the Creative Expressions Blog and as you know this month is all about stencils and sparkle texture paste.  This week I have a journal page for you, so if your sitting comfortable I shall start lol.  As always I shall highlight the products, in my step by step, from Creative Expressions :-).
I would like to enter the following challenges -
That's Crafty Challenge Blog - Stencils, Masks, Templates
613 Avenue Create Challenge - Anything Goes/optional shaped cards
Crafty Girls Challenge - Anything Goes
Fan-Tastic Tuesday Challenge - Anything Goes
Blazer Designs - Art Journal Every Day

A really bright funky looking journal page, it's a bit busy
but I love it lol.

Lots of close up pictures :-)


And now for the step by step :-)

To start with I added Creative Expressions Sparkle Texture Paste Aurora through
the Ranger Dina Wakely Moon Faces Stencil.

They don't quite pop out yet on the white page but next is colour :-)

I opened up my Distress Stains Spiced Marmalade, Mustard Seed and Picked Raspberry
and added them to some empty mister sprays.  Now at this stage
you could add some Cosmic Shimmer Mica Powder but I didn't want my background
sparkly as I was using sparkle elsewhere.

I sprayed them all over my journal page, this was the first layer

I then re sprayed to get the real bright colour that I wanted.  Look how
the texture paste grabs the colour, yummy.

While that was drying I took the paste and used a paint brush over some
Creative Expressions Coconut Card Stock and thinly painted it all over, this
dried really fast.

I then used the same sprays and sprayed all over, this time I didn't mop it up
as I really wanted it colour intense so I dried with a heat gun and re sprayed.

I love how the sparkle shines through.


Next I watered down some Distress Paint Black Soot and used a paint brush
to paint over two of the faces, now you will see later that I decided
to go back and paint the third.  This is because the whole point was to make 
my face jump out, but it didn't, I would have been best to do my face and leave the
others, but in the end they all look really cool.  Especially as the sparkle shines
through the paint give it a green lustre.


I sprayed some water through the That Special Touch Stencil Chevron and
then dried to leave some watermarks over my page.

Next I used Ranger Studio Multi Medium and painted one layer over my page
to protect the colour that is down, as it is water reactive I didn't want any further
layers to run into the stains.

Now I had some more pics here but I can't find them, which is upsetting as
I showed about some playing I did to colour the texture paste, you see I have
some copper but never use it much so I wanted to see the difference when coloured,
but I can't find them anywhere.  I will keep trying and if I find them I will pop them here.
To get this colour I used Creative Expressions Texture Paste Copper Kettle and
Distress Stain Picked Raspberry through a That Special Touch Stencil Distressed Dots
and then added Creative Expressions Micro Glass Beads over the top.

At this point I noticed that my face didn't seem to pop off the page.

So I did my face with the black soot like the others, but because it was a different
mix my face does look darker so it all worked out :-)

Another picture missing, I cut my handmade sparkle card with Creative
Expressions Faux Quilled Blooms dies and then to make them really pop I used
a paint brush to roughly edge all the flowers with Eco Green Paint Black.

I went around the faces with a black chalk pencil.

I used Creative Expressions Bubble Wrap with Distress Paint Picked Raspberry
to stamp areas of the page.

Next I used Creative Expressions Chicken Wire and Distress Paint Spiced Marmalade.

I stamped with Archival Jet Black Ink Pad the Creative Expressions 
Alpha Writing stamp.

I used a gift card and some bottle tops to add some interest to my pages
with Eco Green Black and White paint.

Then I used the paint with Tim Holtz Stencil Arrows.

I then stamped Unique with Tim Holtz Worn Text and
then used my finger with the pink paint to add cheeks to myself.

I added I AM with Tim Holtz Idea-ology Letter Stickers
and then added the flowers and some Creative Expressions Black Gems.

I wanted the wording to jump out more so I coloured in with my black promarker.

Last but not lease, I added some white doodling :-).

Right that's it, if you have managed to get this far lol.  Sorry about the missing pics, hope you have a bright Monday.
Happy Crafting :-)
Hugs Kezzy xxxxx