Friday, 27 June 2014

Birdy's Christmas Song

Hi ya, I can't believe I haven't shared anything since Monday, I think it's because I have had a lovely week playing and thinking up some tutorials.  Today I have a tag swap I did (Christmas eeeeeek) and all weekend I have bits and bobs to share, also in July we are playing with masks for Creative Expressions and I asked very kindly if I could have the Dina Wakely masks and I got them, so I am planning lots of techniques all the way on a Monday in July!!! How exciting is that, hence all the playing :-).  I also have been playing in my journal as well, so I shall blog that this weekend so busy busy busy having lots of creative fun :-).  So onto my tag, plus of course the normal step by step lol.
I would like to enter my creation into the following challenges :-)
Fashionable Stamping Challenge - Birds and the Bees
Rhedd and Rosie Challenge  - Anything Goes
Craft Hoarders Anonymous Challenge - Spray it, Ink it, Paint It, Smear It, Emboss It (did most except the emboss it lol)
Crafty Creations Challenge - Things with Wings
Fab 'n' Funky Challenge - Christmas
City Crafter Challenge - Red, White and Blue

I bought the Dina Wakely squiggly bird stamps not long after the came
out in the UK but this is the first time I got to play with them lol.
Of course Christmas wouldn't be my first choice!!!!  SHE (of course a she!) is also
featured in my journal this weekend as well :-)

Lots of pictures, I put a really nice metallic glaze over the entire tag at
the end, it's so strange, you move it one way it sparkles, move it another and it
looks matt, love it.  Also can you see all the texture?  Of course I couldn't help but
really lay on some depth for my tag swap :-)


Of course I had my camera out during the process so here goes .....................

I used some Golden gel medium and added some angel paper (think that's what's it's called).
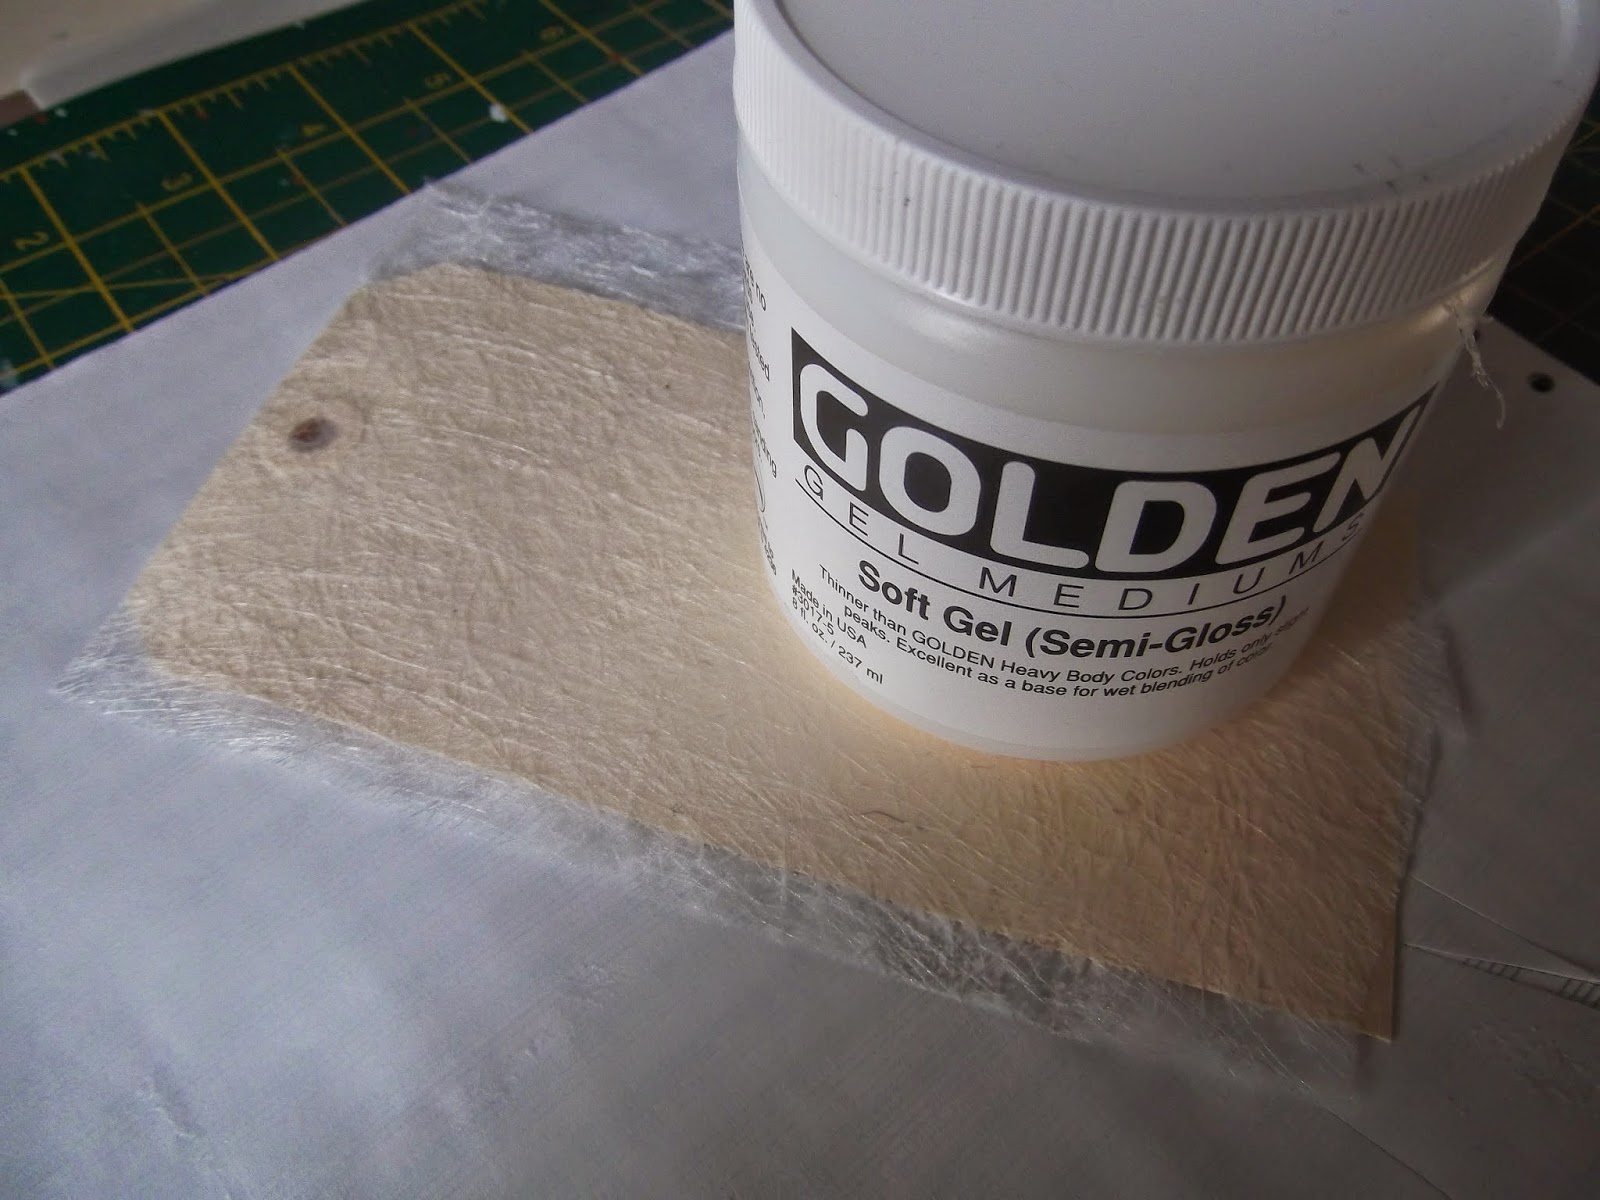
Then I added a few Christmas trees from Dylusions Oh Christmas Tree stencil with
some Paperartsy Grunge Paste.  Oooops think I added gesso as well before that lol.

Now you only get the finished bit on this process, what a palava, I really need
to practise on my spraying paints, I think I mix them too thickly as I have managed
to block 5 spray bottles trying to spray this, 2 of which are still blocked 
(I will get them unblocked at some point but I was at the point of sending them out the
craft room window by the time I had finishing spraying lol).
I mixed Paperartsy Fresco paint Blood Orange and Bora Bora,
I kept spraying, drying, spraying, drying, oh and some dripping (you get the gist lol) until I had
just the right look (oh and the fact I couldn't stand unblocking the spray bottle again lol).
It was worth it though, any ideas on the mix ratio of paint to water for spraying?
any answers really appreciated.

Now I had won these Dr Ph Martin's Bombay India Ink last year from a stamping magazine
 and only just starting to appreciate what they can do.  
The colour Magenta is so vivid, it really is gorgeous.
I added some to the top and let the ink drip down.

Next I added some stencilling, I used Dylusions Chequered Dots with Fresco Snowflake
first then nudged the stencil and used bora bora and blood orange in different places.

I stamped some designs on tissue paper (used Stampers Anonymous Reindeer Flight, JOFY
19 and 3) and then stamped the Squiggly Birds on smooth Paperartsy card stock with
Archival jet black ink pad.  I didn't use the Santa please stop here sign in the end, was
going to have Miss Birdy holding it in her beak but it wouldn't fit :-).

I stuck down the tissue paper with Glue and Seal and left
until dry, oh and I stamped the birdy's feet as well on tissue.

When it was dry I added some bottle top stamping with Fresco snowflake then
went over the whole tag with Fresco Metallic Glaze.

A few close up pics before birdy :-)


She was coloured with Blood Orange and Bora Bora paint and then
had highlights with Faber Castell Polychromas cobalt green and middle cadmium red.
Then the tag had some Treasure Gold Rose Quartz added over the texture, some promarker
scribbles over some of the tissue lines to make them look like the scribbly bird.
some Tim Holtz seasonal chit chat stickers and I stamped the tweet and chirp on some cardstock and
then covered covered both with some bora bora that I used on my finger so I could rub most of
it off as it is an opaque paint.

Right I better be off, hope you enjoyed Miss Birdy, I shall be back tomorrow with some more play time. Hope you have a lovely evening and a super start to the weekend.
Happy Crafting :-)
Hugs Kezzy xxxxx

Monday, 23 June 2014

Creative Expressions - Nautical Friendship

Good morning, wow another morning post, I have been doing well this week lol.  It's Monday which means it's time for another creation for the Creative Expressions Blog :-).  This month we have been playing with the Creative Expressions single stamps that are beach and nautical theme, and today I have decided to play with the more nautical side of the stamps, these are totally gorgeous and I had a good idea what I wanted to make lol.  I also want to add, everything I used was stuck down with Creative Expressions Cosmic Shimmer glue, it's a glue I have been using for years and it holds anything together lol and I thought you should know about how awesome this glue can be :-).  As always I shall highlight the Creative Expressions products in red.
I would like to enter my creation into the following challenges :-
Craft Room Challenge Blog - Sun, Sand & Surf
Moving Along With the Times Challenge - Oh I do like to be beside the seaside
The Crafter's Cafe Challenge - Distress It (crackle background)

I really love how the sea came out, this was done with Creative Expressions Texture Paste :-)

Lots of close up pics :-)


And now for the step by step :-)

I used Eco Green paint Stormy to cover the canvas, then when dry I added
Cosmic Shimmer Crackle Glaze over the top.  When that was dry I painted over with
Cosmic Shimmer Matt Chalk Paint Warm White (eek need more as now I have run out lol)

I just love those cracks :-)

Next I used Cosmic Shimmer Glue to stick on the wood pieces.

Then I added some net with loads of glue for the next step.

I added sand over the top and patted it down and left it for an hour
(this is bought play sand) :-)

The reason I used so much glue was so I would get loads of lumps of sand,
I patted off the canvas and this is the outcome, and no way is this sand going anywhere lol.

To make the sea I used Cosmic Shimmer Texture Paste Clear and Gold Pearl,
with a hint of Cosmic Shimmer Sparkle Texture Paste Lilac Blush and added
some Eco Green Paint Stormy to get the colour I wanted.

Initially I stamped the ship so I could see where the sea came up to, I then
added the paste mix and made lots of flicks for the choppy sea.

Because I was using alcohol inks I stamped with Memento black ink and
stamped onto card stock Creative Expressions Singles Ship in the Bottle, The Clipper
and the middle of the Nautical Words, I didn't use that in the end.

I didn't want them too bright so I kept to a neutral tone and cut each of them
out.

Now initially when I stamped the ship earlier I forgot about the cloud surrounding
the stamp, so when the sea was dry I did some touch up by repeating the first step
over that area.

Next I took a That Special Touch Mask Clouds and used Eco Green Paint Stormy
and then over the top I pounced some Cosmic Shimmer Matt Chalk Paint Warm White
over the top to soften them.

I added a ship wheel from my stash and then added Creative Expressions Gilding
Wax Summer Blue around it and the sea and over the rope in areas Vintage Golden Green.
I didn't take a picture of the last part ooops :-), I then added the ships and
re made some of the texture mix and added flicks of the sea over the ships.

Right I better be off, hope you enjoyed my nautical canvas and a huge thanks for taking the time to have a peep.
Happy Crafting :-)
Hugs Kezzy xxxxx

Sunday, 22 June 2014

Paperartsy Inspiration - A Bird's Song

Hi ya, got to be ultra quick lol, I had a play this afternoon as I really inspired over at Paperartsy Blog by Jo Firth-Young who is one of the designers this week.  To be honest every designer inspires me lol, but I only got time for one this week.

I so wish the pictures where better, but with the curtains open it's way too bright lol.
The background was done by sponging Sky over Ice Blue and then sponging with Ice Blue
and using a cloud stencil with snowflake for the clouds, but dabbing through so they
blend into the background.
Paperartsy products I used are at the bottom of the page :-)


Right I better be off as the linky closes soon lol.  I so enjoy playing with my Paperartsy stamps and it was a nice change to get my JOFY ones out.
Happy Crafting :-)
Hugs Kezzy xxxxx

Recipe
Paperartsy Fresco Paints - sky, ice blue, pea coat, snowflake, chocolate pudding, hey presto, pumpkin soup, brown shed, caramel, london night, squid ink
Paperartsy stamps - JOFY mini 34 and 20, JOFY sets 15 and 13
Patterned paper
Paperartsy paper
Paperartsy smooth paper
Special touch stencil clouds
Archival jet black ink pad

That Craft Place Blog Hop

Good morning, another early post by me lol.  That Craft Place Challenge Blog is having a blog hop this week with both team A and team B getting together to show you lots of wonderful creations and also a chance to win prizes, how cool is that :-).  The theme is simple - Anything Goes, so no excuses not to join in with us all :-).  I shall show my grungy creation first and a pic of how I started the canvas then I shall give you all the blog hop details :-).  Some of the team are giving away their creations so for the first time I have decided to give this away, I am always nervous that my work is not good enough and others probably won't want it so I won't be offended if you say you would prefer not to receive it lol.  I shall also be popping in some of the wood embellishments, decorated tissue and a few other small goodies.

I have took lots of pictures as it seems I can't get a full decent pic :-)


These two side views show the best brightness of the gilding wax :-)


And how it started :-)


Now the amazing Design Team have some inspiration on their blogs and  (some of the DT ladies are giving away there creations to one lucky blogger) so make sure you hop by and give them some love 


  Lisa
  Amanda
 Stacey 
 Becca 
 Gayle 
  Debs M 
  Cheryl 
 Kay 
 Cathy 
 Jules 
 Aurora 
 Lisa M 
 Erin S 
 Rachel   
 Suzi 
 Kezzy (you are here)
  Erin

Links to Shop and Groups 
Here's the prize's 
 1st £10 spend in That Craft Place
 2nd £10 DDD esty store 
 3rd £5 That Craft Place 
 4th £5 DDD etsy store 

Now to win you need to make sure your a member of each group and hop to each blog :-)

Right I better be off, hope you enjoy the hop and hopefully you will win some goodies or my little give away.

Happy Crafting :-)
Hugs Kezzy xxxxx

Recipe
That Craft Place - Wooden pieces, wood sheets, metal charms, lace
That Craft Place Stamps - dreamer, curvy cogs, cracks
Finnabair Prima numbers and main metal piece with sentiment on.
Ranger Gesso studio
Paperartsy canvas
Golden - high solid gel
Treasure Gold Brass and Copper
Distress Paint - antique linen, vintage photo, walnut stain, gathered twigs
Gilding Flakes - Cosmic Shimmer - summer meadow, Crafty Notions - colourful thoughts
Mini Canvas
Indigo Blu - Flitter glu
Perfect Medium
Versafine - sepia
Archival - jet black
Copper and Gold embossing powder
Creative Expressions stamp set - textures
Moon Glow Mists - crow nest copper and burnished brass
Indigo Blu - script background