
I would like to enter my creation into the following challenges -
Fashionable Stamping Challenge - Anything Goes
Artful Times Challenge Blog - Anything Goes
Frilly and Funkie Challenge Blog - Stencils and Texture
(I used stencils by making the cloud embellishments as seen in step by step. I also stamped
on acetate the trees and then cut out to make a stencil to use to make the tree embellishments)
Crafts 4 Eternity Challenge Blog - Texture
Anything But A Card Challenge Blog - Sparkle
Now for the pictures and close ups, I have also got a step by step after :-)


And now for the step by step :-)
The recipe for each product is at the bottom of the page :-)
I started with a canvas board and piled lots of bits on my desk.
I didn't end up using the tissue paper and doily lol.

To start with I chose this two pieces of paper, aren't they yummy lol

Ooops already changed my mind, I used two the same :-)
I stuck them down with modpodge and also put it on top as well to protect
the paper from sprays later on.

Now for the fabric scraps, I stuck them all down with mod podge as
for the papers. I just kept piling it on, we have fabric, cheesecloth, cross stitch material,
angel fabric (think that's what it is called), lace and some more but not sure what they
are called lol. There are only pictures of the fabric being put on, as I got
over excited and forgot to take pics. You will see it all before I put paint on.


While that was all drying I wanted to make a moon so I used grunge paste with
Creative Expressions clear micro glass beads mixed in. I used a circle that
I cut out from Idea-ology masks with spellbinders circle die and I have
a few that are different sizes.

I have a spare carton that I mix them both up with.

The micro beads give great texture. I used a palette knife to spread it on.

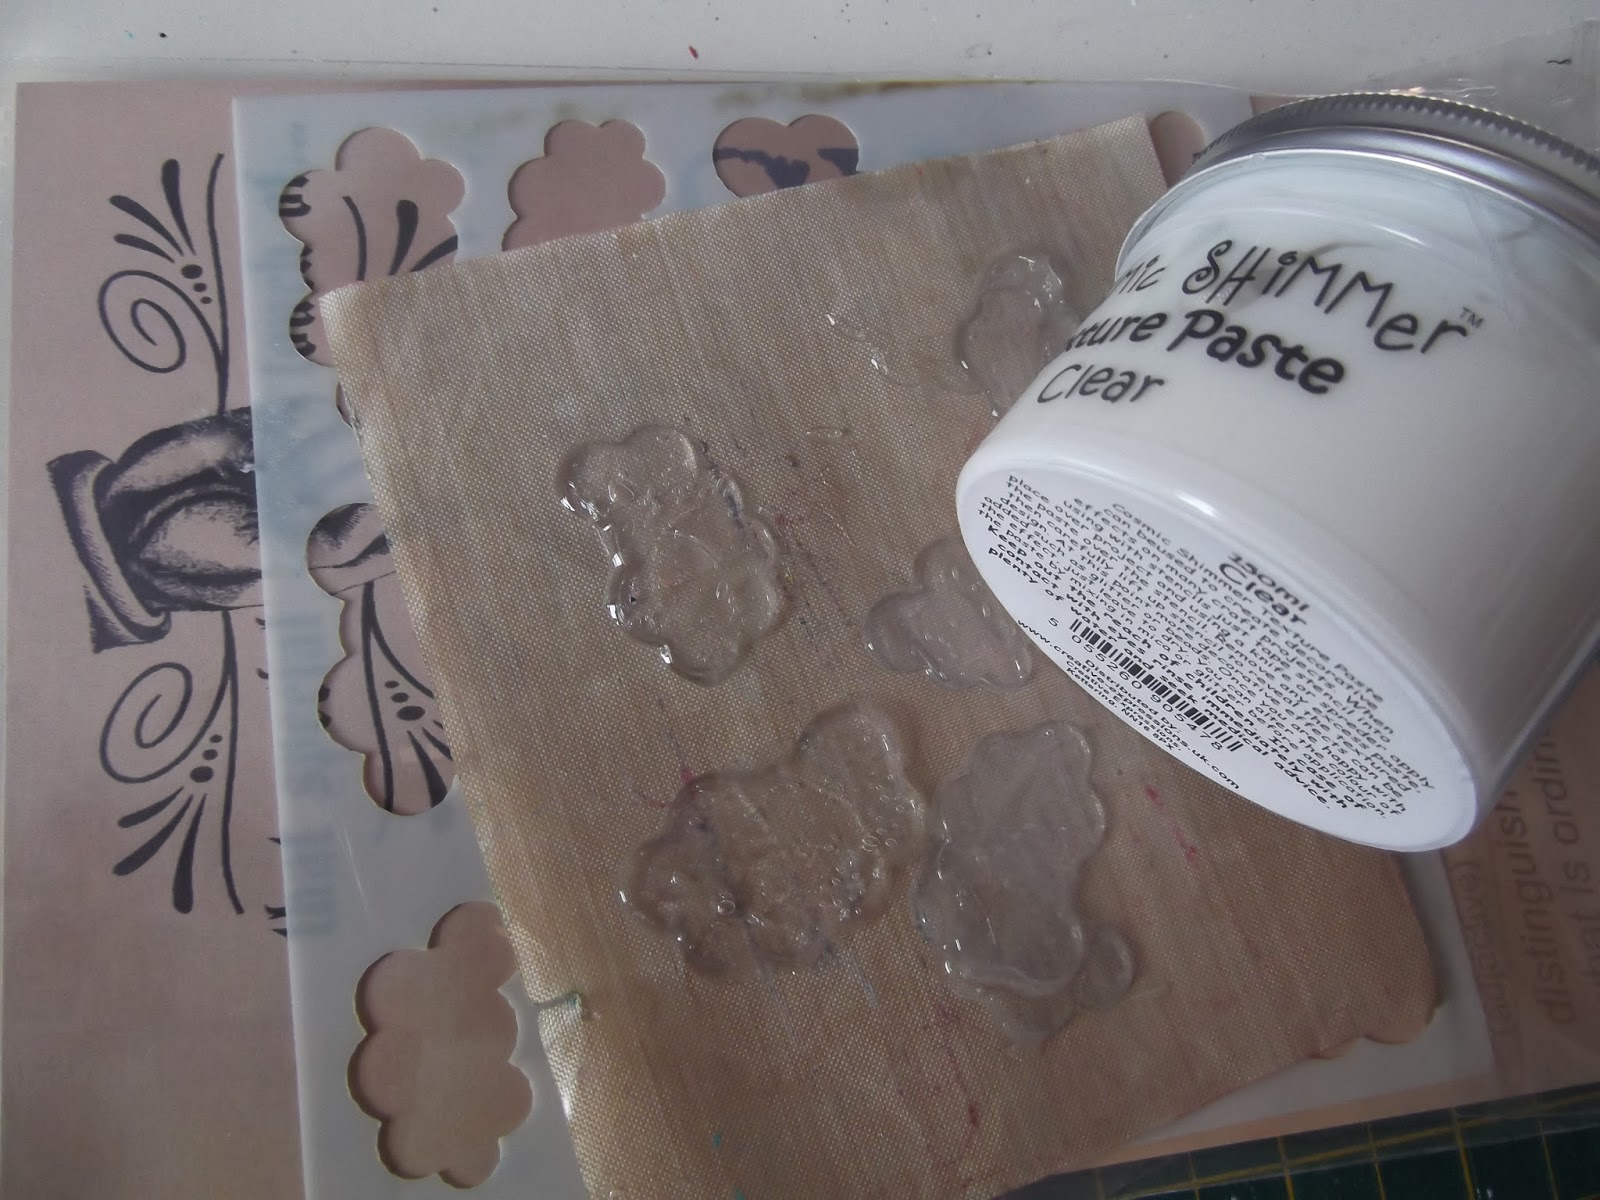
I used a clear texture paste through a cloud stencil on a non stick sheet,
I spread it quite thickly, and as you can see, when it dries you get fab
cloud embellishments :-)
Now you can see all the different bits I used, I just grabbed
lots of scraps, and I didn't even take care cutting them to size, I just let
it all hang off the canvas, to me it seemed to suit the snow spreading everywhere.
Next I used gesso to lightly paint the paper and cover all the snow.
I also added the cloud embellishments that you can't really see lol.
(this is where I find that they are not on this picture lol)

Next stencil was a homemade one, I stamped the tree on acetate, then
cut around with a knife, not really neatly lol. I used this with grunge paste
to get the tree embellishments.

As you can see I did it nice and thickly.

Next was the sky, I basically grabbed all my sprays that were blushish.
Now because I had already put my texture down (yep I did think I should have
done this first lol) I decided to not spray but paint on.

First of I used two colours, then I forced dried. I used a heat gun
without mopping up, it means you get darker and lighter areas.

As you can see, it looks fab, but I didn't stop there, but if I had I would
have still been happy with it.

Next I used the radiant rain to add sparkle plus more spraying with dylusions
then force dry.

As you can see the colours were almost getting mixed up but that was fine :-)

As you can see, the radiant rain is a purple blueish so it starts
to add more depth.

Then I wanted more of the radiant sparkle, so I took the lid off the dabber
where all that lovely mica sticks and stuck my brush in there and dabbed
it all on the canvas in different areas.
You can really see the mica here. To help mix it up I used more spray.

And here are the finished results, as you can see, it gives such different types of
colours, and the clouds even look marbled.


I just realised I only ever do this with sky in blues, I must do it
with different colours and see what effects I get :-)


Now I am not scared of getting my hands dirty, but if you are I would
wear gloves. Even the brushes look blue lol.

To get my hands clean I use my trusty Ranger scrubber, I usually replace it every
four/five months as I used it for paint, ink, glue and basically wear it out by then.
To get my brushes clean (which may not be the right thing lol) but I put
soap in my hands and paint up and down, and give them a good palm scrub,
it works for me, but it might night work for everyone.

Next I splashed loads of water on the canvas and then mopped it up.

Lots of water marks as if there is a blizzard.

To get the moon to shine I painted on the pearl mist.

As you can see it realises some of the blue, but I wanted it that way
as I wanted my moon not completely white. Next I sprayed around the moon.

It mixes with the blue, but if you then mop some of the blue up it looks
like the moon is shining.


Yep I had managed to get blue all over my snow eeeek

I find that with all the spray that isn't permanent and it being forced dry over
gesso, it tends to mark your hands so I use a varnish spray. Now
this is because nothing has worked for me not to get splodges.
Now I did see on You Tube someone adding Golden Soft Gel over
dylusion spray and it worked lovely so I have ordered some, so
I shall let you all know the outcome :-)

To start with I used white paint to help cover the blue, then I added puff
paint (forgot a photo, I was in the zone lol)

Next I used Treasure Gold on the moon, now you can really see all the beads.

I painted the tree embellishments black and then added treasure gold.

I used snow tex on the branches plus on the snow.
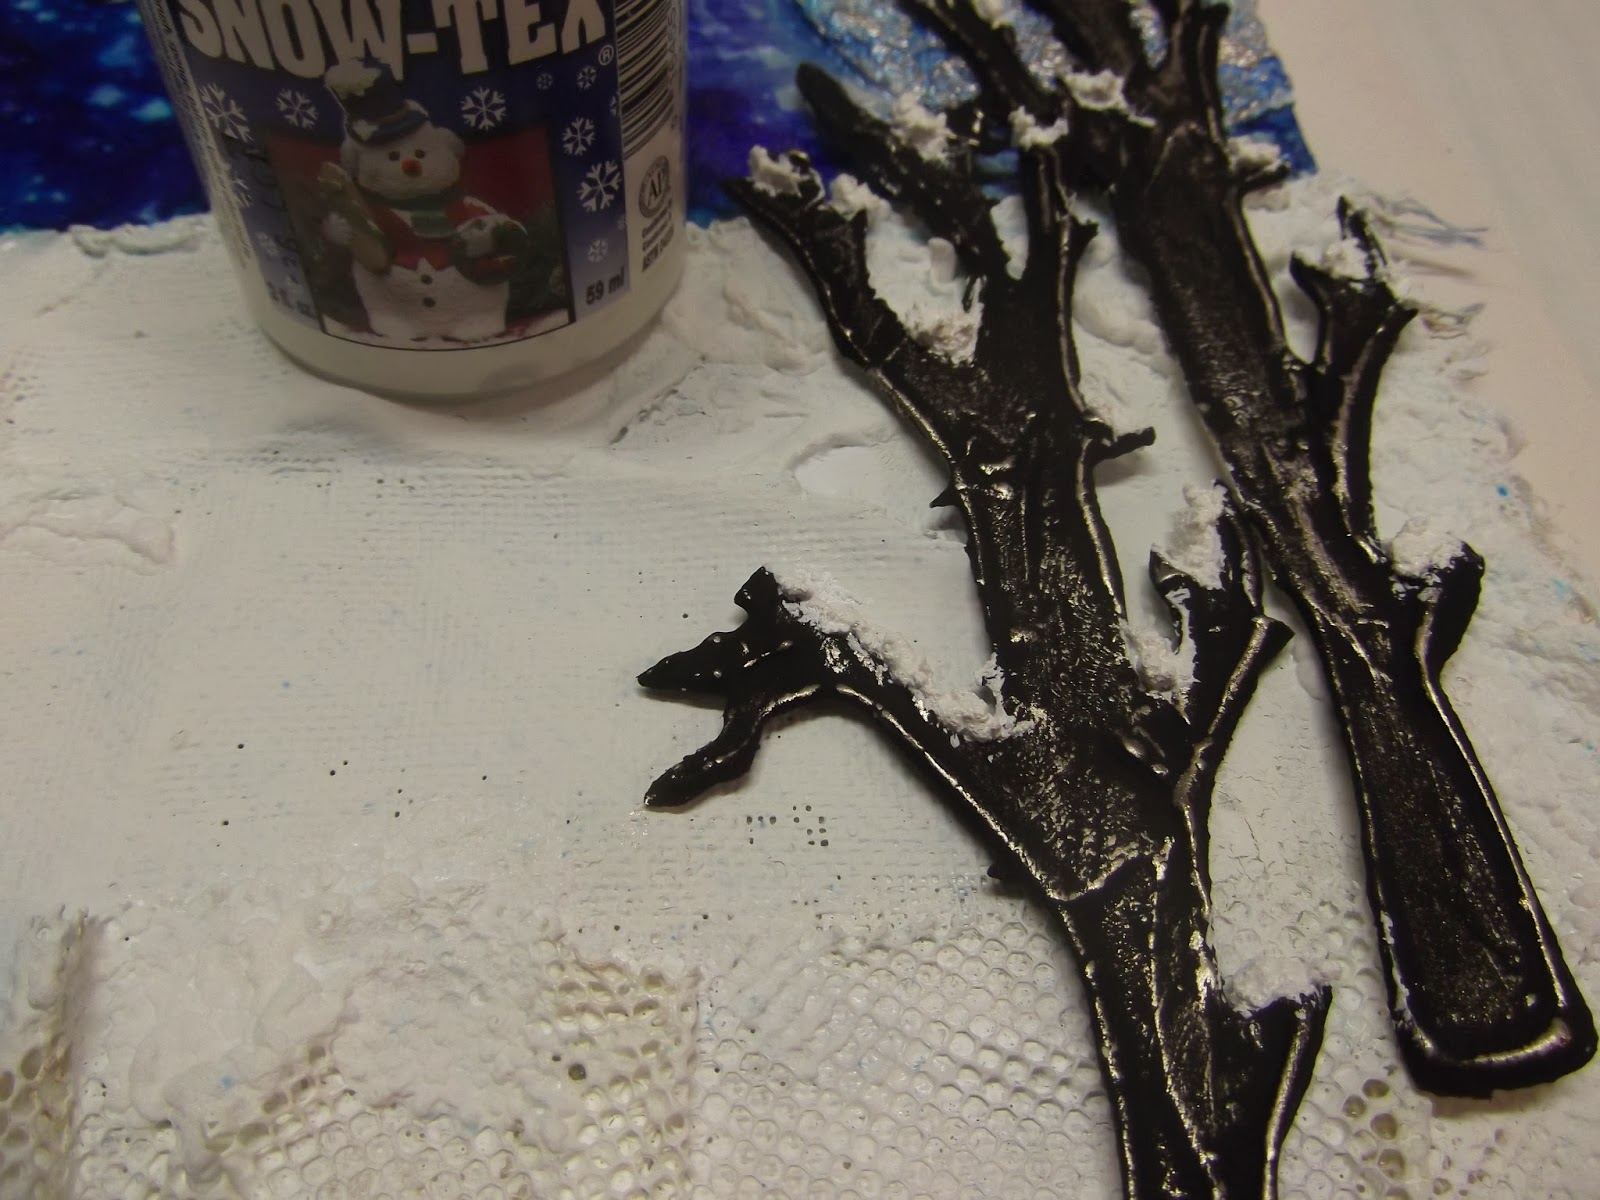
I also added some glitter jewels to the snow tex for extra sparkle.

Next was sparkle medium, oooo you can see the puff paint as well :-)
I also used some pearlescent pva glue in areas but didn't take pic.

I added treasure gold around the canvas and on the clouds, plus some
area in the snow.

And then I used Idea-ology alpha letters and added treasure gold in areas.
All done :-)

Right I better be off, that was a lot of photos lol. Thank you so much for visiting and I hope you enjoyed the step by step.
Happy Crafting :-)
Hugs Kezzy xxxxx
Recipe
Paperartsy Grunge Paste
Paperartsy Fresco Paints - Snowflake
Paperartsy Stamp - (for tree stencil) JOFY 15
Eco Green Crafts - black paint
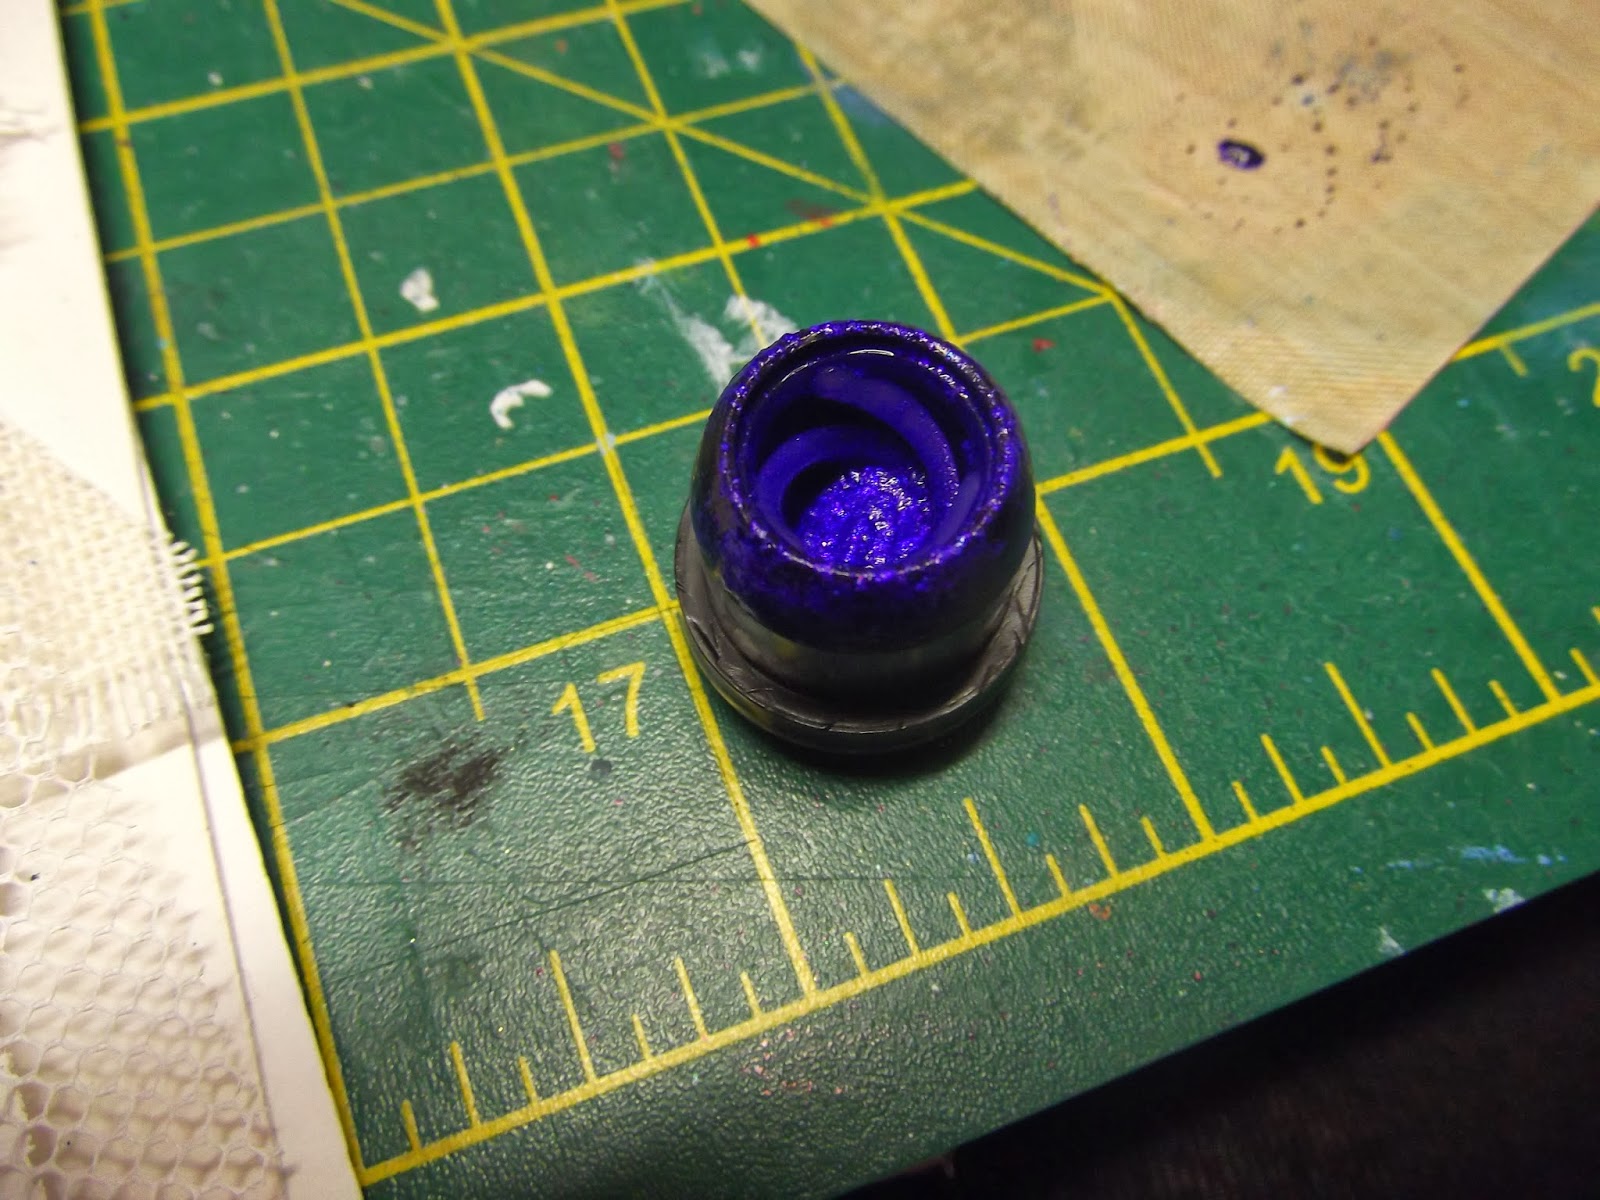
Treasure Gold - Sapphire and White Fire
Creative Expressions - Cosmic Shimmer Glitter Jewels - white ice
Creative Expressions - Texture Paste Clear
Claudine Hellmuth Studio - Gesso
Fabric and Material scraps
Special Touch Stencil - Clouds
Mod Podge
Decoart snow tex
Creative Expressions - cosmic shimmer pearl PVA
Cosmic Shimmer Mist - Teal mist and pearl
Cosmic Shimmer vintage mist - Astral Mystery
Dylusions Sprays - vibrant turquoise, teal, after midnight, london blue, campso teal
Luminarte - Radiant rain - Plum crazy
Crafters Companion spray and shine
Imagination Crafts - Sparkle Medium diamond
Crafty Notions - white puff paint
Mix of Idea-ology alpha parts
7 Dots Studio 9th Wave
14 comments:
WOW- Fabulous!!! This is just amazing!
Fabulous canvas and so great to see how you did it. The textures are fantastic. The sparkle of snow has got to be one of the best things in life! Thanks for joining in at Anything But A Card this time.
this is fabulous Kerry - brilliant work - and amazing textures too xx
This is a wonderful piece of art with the rich colours and texture you created
Thank you for sharing it with us at Artful Times
Love Chrissie x
Well Kezzy I can see why you were 'sought out' for your fabulous art. This is gorgeous and it's so good to have been taken through how you put it all together. Thank you so much for joining us at Frilly and Funkie with this. Jenny x
Wow! Kerry, the colour, the texture and the step by steps are terrific on this! I am totally in awe of what you've created here and how brilliantly you've shared with your usual generous spirit and clarity. I'm sure that with the spring and better health this will be the first of so many wonderful makes we'll not have time to lift our jaws off the floor as we gape in amazement at the next creation - lol!!! Lots of hugs and creative joy to you! Julie Ann xxx
Lots of lovely texture and colour on this, great idea to stamp your tree onto acetate. Thanks for joining us at FSC.
Love
Amanda
Stunning canvas, with a fantastic step by step.
Its great to have you with us at CCM&M
Yvonne
Amazing detail and texture a really stunning creation !
Thank you fir sharing with us at Artful times
Von ☺x☺
WOW - an amazing piece of art - love all the colours, texture and sparkle ..Thanks so much for sharing with us at FSC...Esther xx
Wow Kezzy such a fabulous detailed step by step. Love the tip about the cloud embellishments! I shall have to try that, assuming I can remember it when I need it, lol
So pleased you are with us at CCM and am excited to see what you come up with for the next challenge.
The fabric in the picture with the puff paint sitting on top, is that just a plain mesh?
A gorgeous project. Thank you
Lin
Crafty Cardmakers and More
Glorious textures and techniques throughout - and what an amazing step by step taking us through. I think you may just have beaten my long post record!!
Fabulous work.
Alison x
Can see why you are a Guest Designer for them - what a wonderful piece of artwork. Thanks for the know how on making.
Hugs Neet (Artful Times) xx
What a stunning piece! The texture is amazing and I love the lifelike sparkle of the snow! Thanks so much for joining us at Anything But a Card!
Post a Comment