The ATC's are available to swap, or if you new to mixed media/ATC's
and would love to receive but can't swap then let me know and if
there is one left I will gladly post it your way :-).

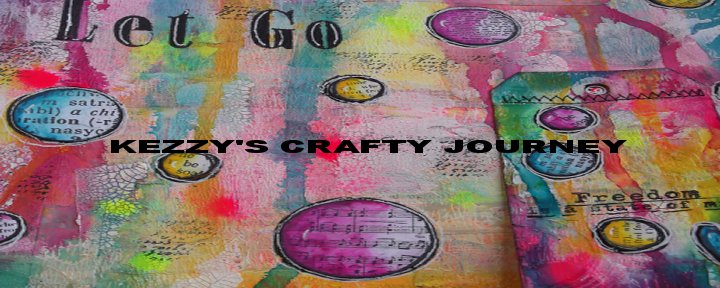
Lots of close up pics, I was trying to capture the depth of all the layering.


Step by Step :-
First up making a masterboard. Here I used the townhouse teal, sleeping beauty,
snow white and a Paperartsy white, but you could use the English Cottage
paint white or gesso.
To start I grabbed a brush and kept layering the colours mixed them with the white
to see how the mixed together. They went on beautifully.

Next I use the brayer with the PA white and the snow white.

Next I wanted to see how they stamped using mark making tools i.e. anything laying around.
Again they stamped beautifully.

Back to the brayer but a lighter coat, just to knock back what we just stamped.

Using the itsy bitsy background stamps and the paint, yet again the
went on the stop lovely. Just make sure you wash your stamps straight away or
add them to a bowl of water until you can clean them.

Lastly I added some stamping with the script background and some
archival ink.

This piece was just cleaning off the brayer and mark making tools on some
scrap card. I used this for the ATC's and saved the above for a later project.

Next watercolouring with the townhouse teal, banana custard and sleeping beauty.
First I added loads of water to my card and then added droplets of paint, still adding lots
of water, then dried.

Next some banana custard and lots of water then dried.

I did that twice and now you can see the greeny/bluey areas.

I repeated with both paints to get the effect I wanted. I love moving the card
around so I get lots of watercolour effects as they mix together.

Next I added water and then splashed in the sleeping beauty but
this time now adding water on top, just allowing the water that I added before hand
to spread the paint.
I love the effect this gave, for the ATC's I used this for the sentiment, I just
love how soft and pastel it looked.

Next gelli plate fun, I did some book paper just before but didn't take the photos.
You will see some of the book paper later on.
To start I die cut some circles and added them to the gelli plate.

Next I used the townhouse teal and sleeping beauty to brayer over the circles
(I forgot to take a picture) then I removed the circle papers and used some
bubble wrap with the townhouse teal.

Some PA black paint using a lid top.

Next I waited for the above to dry then added some packing tape to lift the paint off.

The areas that didn't have much paint (where the paper circles where) I added
to the back some mega flakes brighton pier.

So here are all my pieces ready to make into the ATC's.

I cut out two ATC's from the scrap card. I then cut some of the black circles
from the gelli print packing tape.

I wanted a few more circles so I used the funky circles tree and stamped with archival
ink pad onto book paper and cut out.

I added some of the gelli print book paper onto the ATC's.

I stamped with the itsy bitsy background stamp and townhouse teal
to knock back the book paper.

Some more stamping using archival ink pads and the script background and
another stamp from the itsy bitsy background set.

I used the PA black through the Indigo Blu texture stencil.

I stamped and embossed part of the saying from the live, laugh and love stamp set.

Added the cut out circles from the packing tape.

I then glued the stamped circles randomly on top of the ATC.

I used my posca pens for some doodling.

To take the shine away from the tape (but it keeps the sparkle from the flakes) I used
some golden soft gel.

With a dry brush I added snow white paint in areas.

Next I used some translucent paste with the stencil.

Lastly I added postbox red splashes then the sentiments over the top.


I hope you enjoyed my blog post today and I hope it gives you some ideas about the English Cottage paints and metallic paints. Thank you for taking the time to visit.
Happy Art :-)
Hugs Kezzy xxxxx
Products
Indigo Blu Acrylic and Metallic Paint - postbox red, banana custard, townhouse teal, sleeping beauty, snow white.
Indigo Blu Stencil - texture.
Indigo Blu Stamps - live laugh love, itsy bitsy backgrounds, script background, funky circles tree.
Indigo Blu Mega Flakes - brighton pier.
Archival Ink Pads - jet black, aquamarine
Posca Markers - white and black.
Studio 490 Embossing Paste - translucent.
Paperartsy Paints - little black dress, snowflake.
Promarker - black.
Mediums - Liquitex (matte medium), Golden (soft gel matte).
Packing Tape.
Book Paper.
Bubble Wrap and other Mark Making Tools.
Cosmic Shimmer Embossing Powder - detail black.