
As always I shall highlight the Creative Expressions Website products in red during my step by step.
My first piece of decor is a chalkboard for my kitchen.

Lots of close up pictures


And now for the step by step ...........
This is the frame I started with. Creative Expressions sells lots of
different type of MDF products to alter, this is the
Baroque Square Frame.

For this project I used the bottom half, these had holes in them,
so I just used some glue gel and added tape over the hole over night
then took the tape off and I had a flat surface for painting.

Both pieces of decor where painted with Eco Green Black Paint, both
sides. The circle is for next weeks creation :-)

While that was drying I painted some card stock so I could have
a play with what colours I wanted for my chalkboard.
Because the surface is painted, the watercolour doesn't seep through so
you get a lovely intense colour, especially with the Eco Green paint as it's
a lovely Matt surface. I tried a mix of Cosmic Shimmer Watercolours and
Cosmic Shimmer Drawing Ink. You must remember that the colour
shown in the pot is not necessarily what is going to be on the black surface
as some change completely.
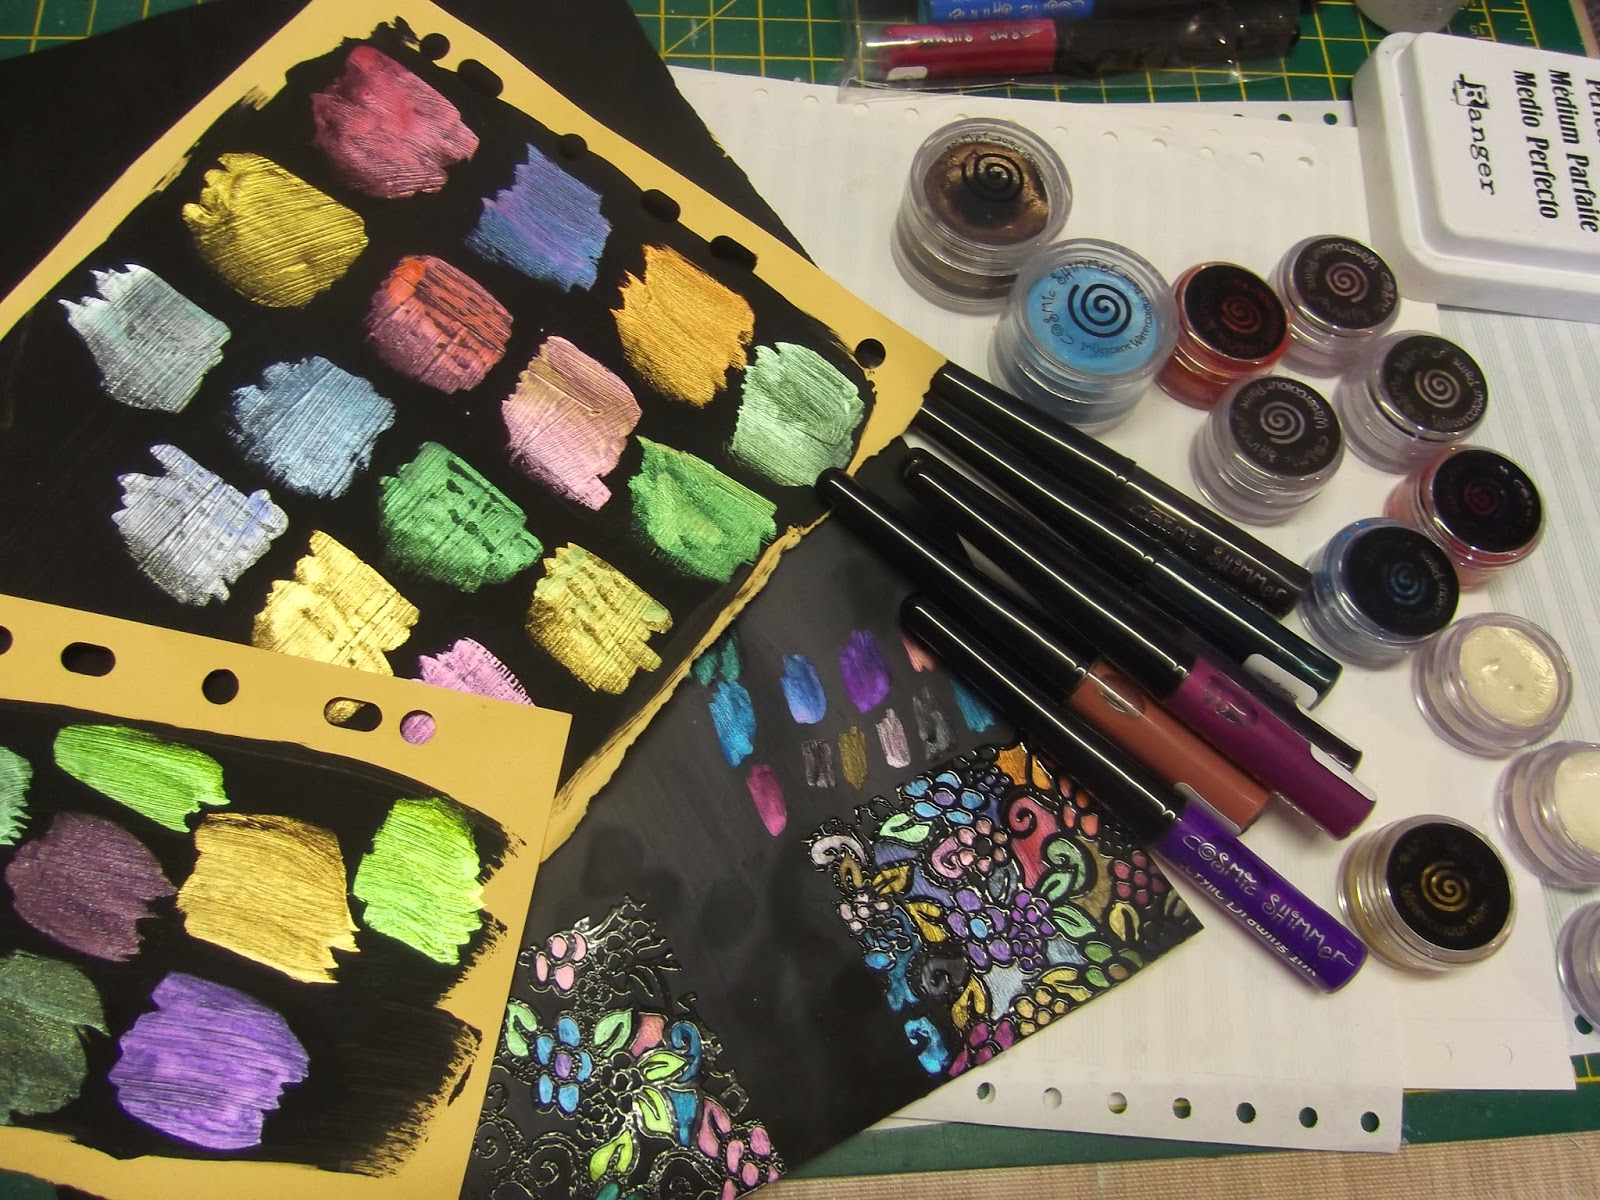
Don't all the colours look lush.

I still can't get over how vivid and bright they are.

The square on the right is what we are using this week, and the
outside of the frame and circle is what we will be using for next week :-)

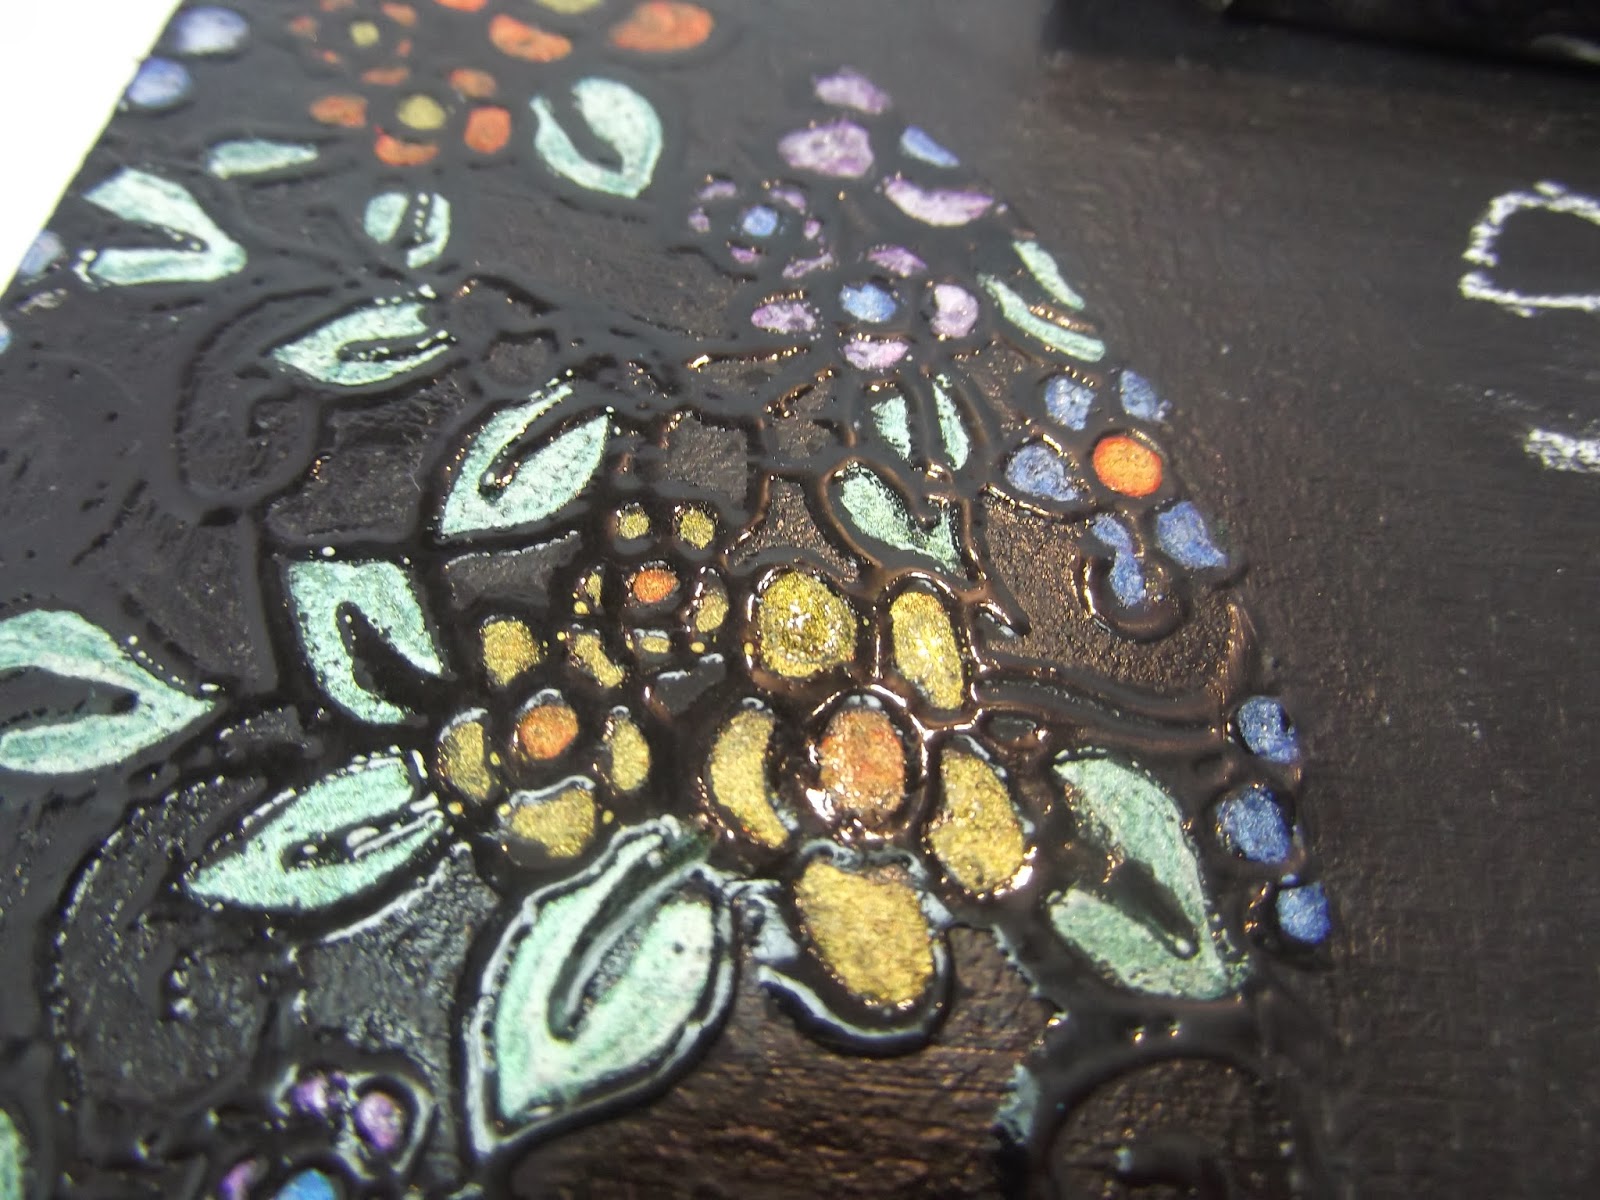
To start with I stamped the Creative Expressions Floral Background Stamp
with Ranger Perfect Medium and Cosmic Shimmer Clear Embossing Powder.

I only wanted my flowers to go around the edge so I used some ripped
copy paper to mask the rest of the board.

Wherever I had to do a join, I used a versamark pen to join in any missing
areas so I could embossing them.

I used Cosmic Shimmer Watercolours in Green Pearl, Olympic Gold,
Golden Scarlet, Blue Pearl and Lilac Pearl.


I took a piece of card big enough to wrap around my piece of chalk,
and embossed and coloured like above.

I attached with a heat glue at the top. I also make some holes at the top to hang
the chalk board up.

I used Tim Holtz Ideology Chain for the hanging element of the chalk board.

Next I used a clear chalkboard paint.

Even though I loved the Matt finish of the paint, because it would be
hanging in my kitchen I decided to use Cosmic Shimmer Clear Varnish Lacquer,
over the area without the chalkboard paint. The best way to do this is do the
black areas first, then all the separate colours as they do seep a bit on the brush.

After 24hrs I primed the chalkboard area by rubbing a piece of chalk up and
down and rubbing it out. Then your chalk board is already to go.

Right I better be off, hope you enjoyed my step by step and don't forget to pop back next week for the matching decor item project.
Happy Crafting :-)
Hugs Kezzy xxxxx
4 comments:
What a fabulous idea Kerry, love the pop of colour against the black. Tracy x
this looks amazing Kerry - what a fabulous idea and thanks for the step by step xx
What a fantastic effect, those shimmering colours against the chalkboard - brilliant!
Alison x
Hi Kerry. Great chalkboard, that matches the clock perfectly. Take care.
Post a Comment